So, you installed Manjaro and you have never used it before, then this is the right place for you. We are going to go over 5 things to do once you have installed Manjaro. Manjaro is daily driver focused linux distribution with a ton of applications right out of the box. It is also available in a lightweight minimal download, like we will be using today. As a pro tip, download the minimal Manjaro iso and add from there. No reason to install everything unless you want all the default applications that come with the Manjaro operating system. Also, check out “Tearing down Manjaro Linux in 2022” which can be found here. Christian wrote a really nice blog breaking down all that is Manjaro Linux.
The first thing we will go over is zsh, mostly how to make it look how you want. Next we will go over pacman basic use and add an AUR helper. We will add AUR support to Pamac and go over how to change your kernel without a command line. Finally, we will go over Retro gaming on Manjaro. Now let’s get right into it!
Zsh Makeover
The first thing to do is give yourself some choice when it comes to Zsh. Zsh is a full-featured shell that has a few more options than Bash. It has a few desirable features that are easy to add with just a few modifications. If you code and spend time in git repositories, then you might want to know what branch you are in. Perhaps you would like to see your completion codes in a stylish way. Well, Manjaro is pretty opinionated about their Zsh styling to the point that they have a module. It breaks pretty ugly if you just change your font size. So let’s fix this.
sudo mv /usr/share/zsh/manjaro-zsh-config /usr/share/zsh/manjaro-zsh-config.copy && sudo mv /usr/share/zsh/manjaro-zsh-prompt /usr/share/zsh/manjaro-zsh-prompt.copy
We are turning these configuration files into .copy files so that they will be preservable if you change your mind. The very next thing to do is add Oh My Zsh. The source code can be viewed here. Their installation method is the best, so let’s make our prompt our own.
sudo mv /usr/share/zsh/manjaro-zsh-config /usr/share/zsh/manjaro-zsh-config.copy && sudo mv /usr/share/zsh/manjaro-zsh-prompt /usr/share/zsh/manjaro-zsh-prompt.copy
To change Zsh to your will, you should make sure to edit your ~/.zshrc file.
vim ~/.zshrc

To edit type a. You can add a theme by adding the following.
ZSH_THEME="aduellj"
Now you can hit Esc then :wq to write then quit the file. Now we can refresh your prompt.
source ~/.zshrc

This is one of the nice ones, but we do think you should add your own choices. The other themes that are included can be found here. This way you can add anything you want or need for your workflow. All the while going with something that is not so green.
Pacman
Pacman is the next thing to go over since it is very different from some other package managers. The first thing you may notice most after the package manager name we will be using –S for sync or to install a package, –R to remove a package and a few other commands. This is much different from other package managers like DNF where you can just say install or purge. We will start by
speeding up pacman. To achieve this, we will edit /etc/pacman.conf.
vim /etc/pacman.conf
Type a to edit. You will want to scroll down to find ParallelDownloads and uncomment it. Then you can add a number like 10, as we have here. This will allow more package downloads at once. Uncomment Color, then make a space under it and add the following.
ILoveCandy

You can then hit Esc and type :wq to write and quit the file. Next thing to do is install a package to see what we did. We will go ahead and install an AUR (Arch User Repository) helper application called Yay.
sudo pacman –S git && git clone https://aur.archlinux.org/yay.git && cd yay && makepkg -si
Next we will go ahead and update to show you what that looks like.
sudo pacman –Syu && yay –Syu
You should notice we are downloading the packages in parallel, 10 at a time. You should also see some candy if the update speed is slow enough that is. Notice that Yay uses the same options as Pacman. This is nice when you don’t want to wait too long for updates. To get help with pacman commands and
explanations try this.
pacman -h
AUR + Pamac
The next thing to do is set up your GUI for Pacman which is called Pamac. This is one of the GUI package manager that works rather well. Let’s improve it with some options they left for us. First thing to do is start the Pamac and look for the menu on the right.

Now we will want to click on preferences. This will generate a password conformation box.

Then you can proceed to Parallel downloads under the general settings and change it to 10.

Now we can proceed to the Third Party tab. This is where you will want to toggle on Enable AUR support. You will then want to toggle on Check for updates.

Now we can use Pamac to access everything we can on Pacman completely with GUI.
GUI Kernel Changer
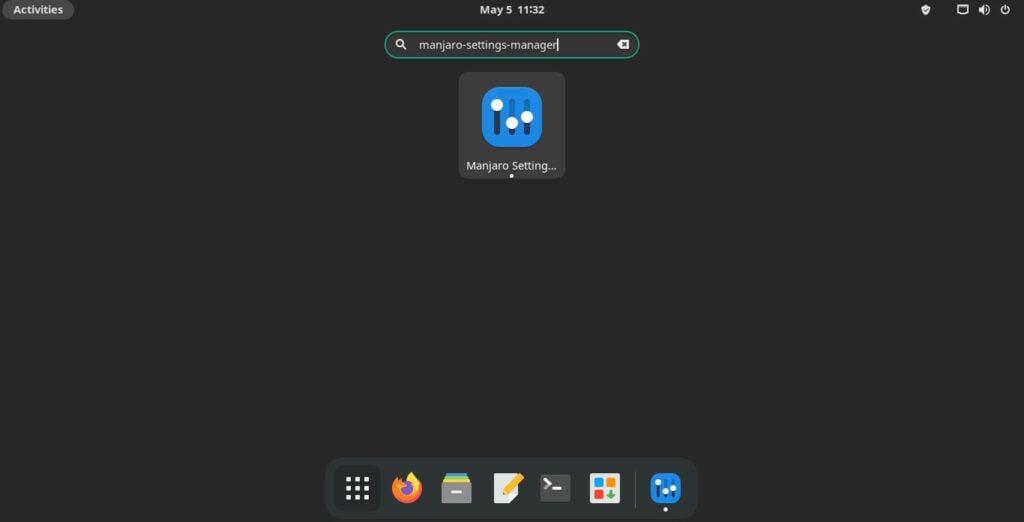
You will be able to access your Manjaro settings manager from your application menu. Just start typing it in and a search bar will appear.
The next thing to do is just hit enter to open it. Select the kernel Tux icon. Double click to open.

Here you can choose your linux kernel, you can choose anyone you like. This is up to you to pick one that is LTS (Long-Term Support), run-time or otherwise. You can always change it back. Now let’s remove the old one.
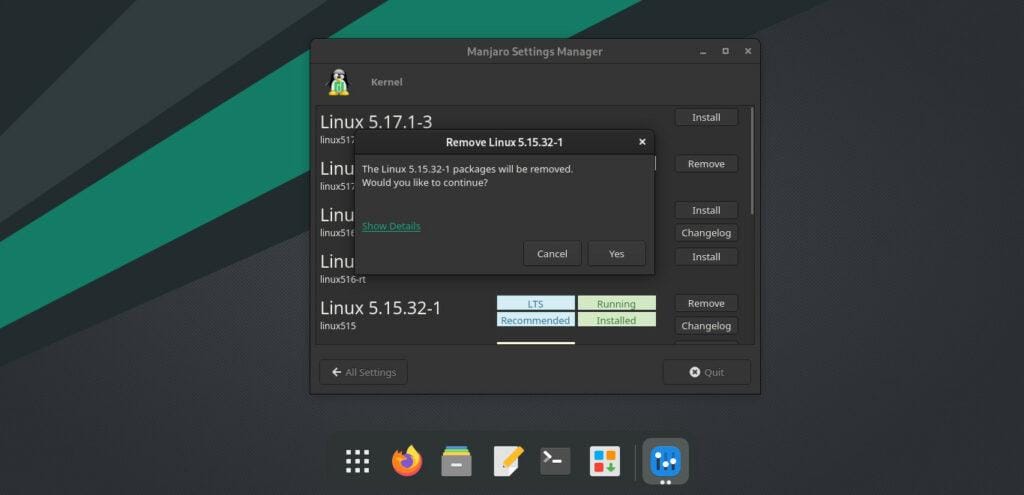
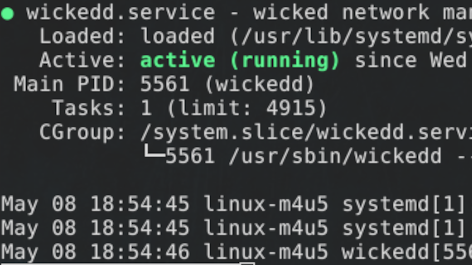
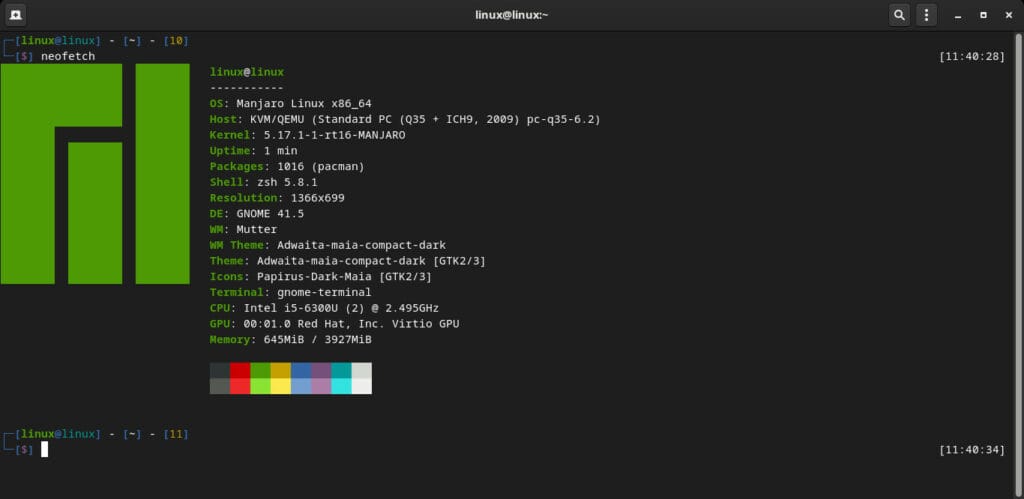
You will notice that the old one will still be running. This is because your kernel is what boots your system. So, it requires a reboot to change. Once you have rebooted you can see the change has taken effect.
Retro Gaming
One thing that is nice about arch linux distributions is that you have a vast community-built AUR packages that make gaming possible. We are not going to go over how to get modern class A titles running on Linux. This will be simple. You will need your own Rom’s to play but we will not provide them or distribute them in any way.
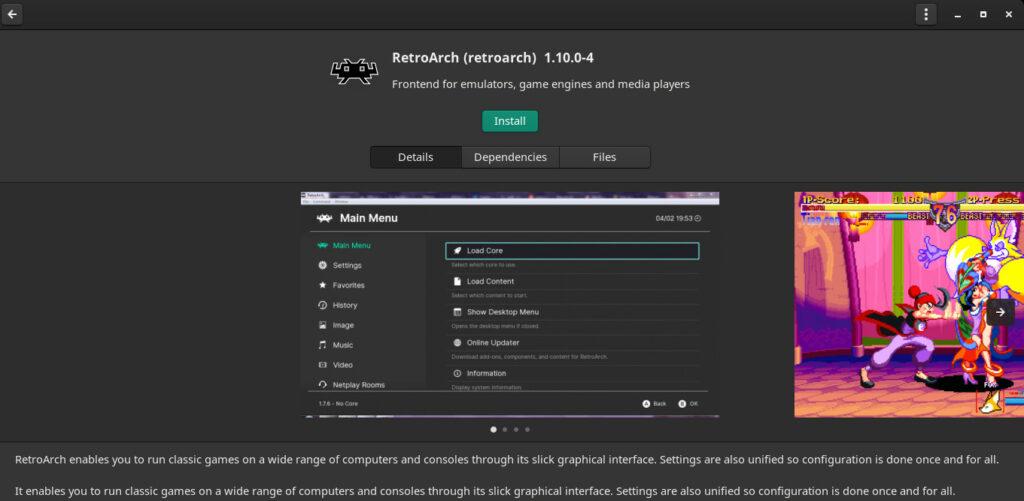
You can get this Package in Pamac so go ahead and install that. Furthermore, you will be prompted for your password. Just like using sudo in terminal so go ahead and type that in. You will be given some choices as to what you want to install with Retro Arch. We choose all of them. Never know what you will need. Then it will ask you to load some cores.
This is very much where you need to have your games ready and whatever else you think you will need. We will talk more about gaming another time. We will cover emulation vs VM to play games. Not only that, but we will even cover Steam. So if that is your thing, keep looking out for more blogs on gaming. If
you encounter any problems duplicating anything you have seen here, please ask away in the comments so that we can help you out. Besides, what is Arch without the community? Thanks for reading.