So, you want to make a private service that only you can access. SSH Port forwarding can be an excellent way to do this. With the built-in function of SSH and the power of the terminal, we will have you capable of routing your private service as needed. This could be a private calendar, a search site for an internal database, an internal blog. The list is kind of unlimited. The fact is SSH is so much cooler than you think. It’s not just some terminal tool that you have to learn to be tech oriented. You do not really need too much experience to do this one. Just curiosity of what you can accomplish. You will need a server, this can be a Raspberry Pi, old PC or even a VPS.
Prerequisite
The first thing we will need is to install all the needed packages to run a basic web server along with a tool to help decipher what ports are serving what. We will be working with Debian, but this should not be too hard to duplicate on most server distributions. You would just need to install the packages with the proper package manager for said distribution.
sudo apt install nginx net-tools vim
Nginx Default
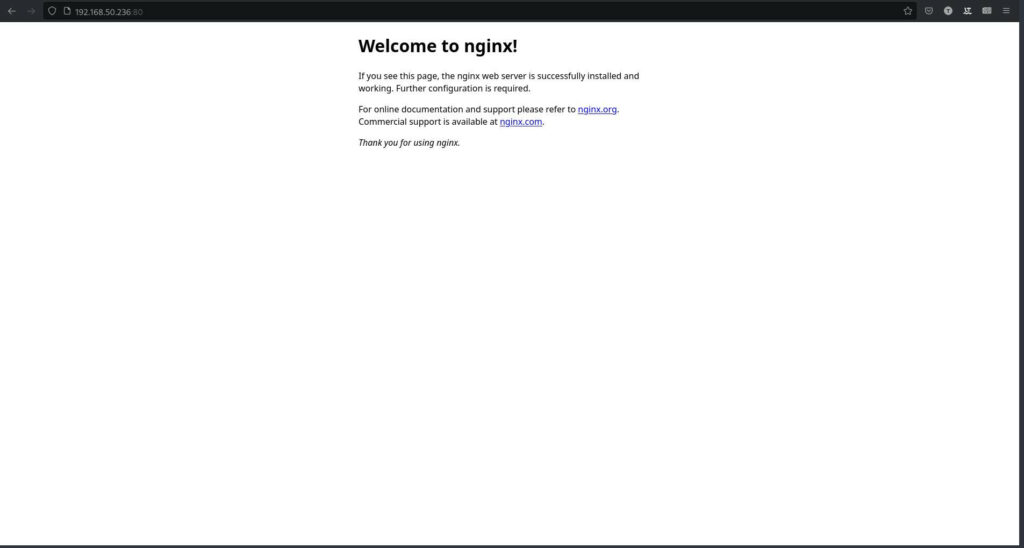
So to look at the default site, we only need the server’s IP along with the port number. We know that the default port number is 80. Therefore, you will need to find out this IP address if we do not already know it.
You can see here in our example IP is 192.168.122.91. To connect to the default public site we just add the IP to our browser with the port number included. Which will look like this.
192.168.50.236:80
Because the universal default port for web traffic is 80, you can also just type in the IP alone.
We will go ahead and look at how Nginx manages their files. Let’s check out where they are and look at some of those helpful parameter files. Just remember that Nginx much like Apache has a rich ecosystem of what you can do with this utility knives of technology.
cd /etc/nginx && ls
The directory we are interested in is sites-enabled. So, we can go ahead and cd into site-enabled.
cd sites-enabled && ls
Therefore, the next thing to do to get a closer look at the inner workings of Nginx, is to take a look using Vim.
sudo vim default
You can see here that there are numerous comments that help you out. That is why we consider Nginx to be so user-friendly. They really do try to make their product useful in numerous instances. You should take your time to read them. You might get a great idea. At the very least you will know of some good examples and documentation to help you build something.
Nginx Private
Now to make this site private, we need to set it to a private IP. All computers have an IP that is only available locally This IP is mostly the same or a derivative of it. This IP is well known to be 127.0.0.1, also known as Localhost or the loopback address. To change this, we will have to edit the file we should still have open. We will need to edit the default listener.
					server {
  listen 127.0.0.1:3000;
  server_name localhost;

  root /var/www/html;
  index index.html index.htm index.nginx-debian.html;


  location / {
    try_files $uri $uri/ =404;
  }
}
You can see here we got rid of all the comments and changed a few fields. The most important part is we added the localhost IP to the port listener, then we added a new port 3000. Next we pulled up the server name section and added localhost to it. One thing to note is you can use localhost in place of 127.0.0.1. Now we need to hit Esc to exit the file and type :wq to write and quit the file. Now we have to stop and restart nginx to see the changes
sudo systemctl stop nginx && sudo systemctl start nginx && systemctl status nginx
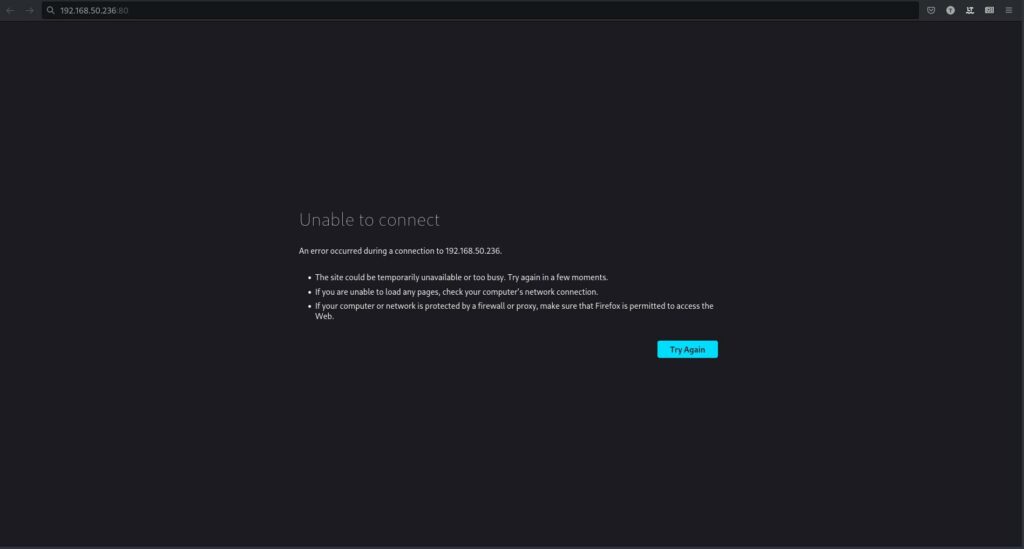
To see the results of the edit we can check out our browser.
192.168.50.236:80
Dead connection on old IP address
This should produce an unreachable result in the browser. Meaning our edit was a success.
SSH Port Forwarding Time!
Now that we cannot see anything publicly we need to use our SSH tools to help us see our default Nginx private site. We can simply add a little on to our regular SSH string to help us accomplish this. The command for this particular server looks like this.
sudo ssh -L 5000:127.0.0.1:3000 linux@192.168.50.236
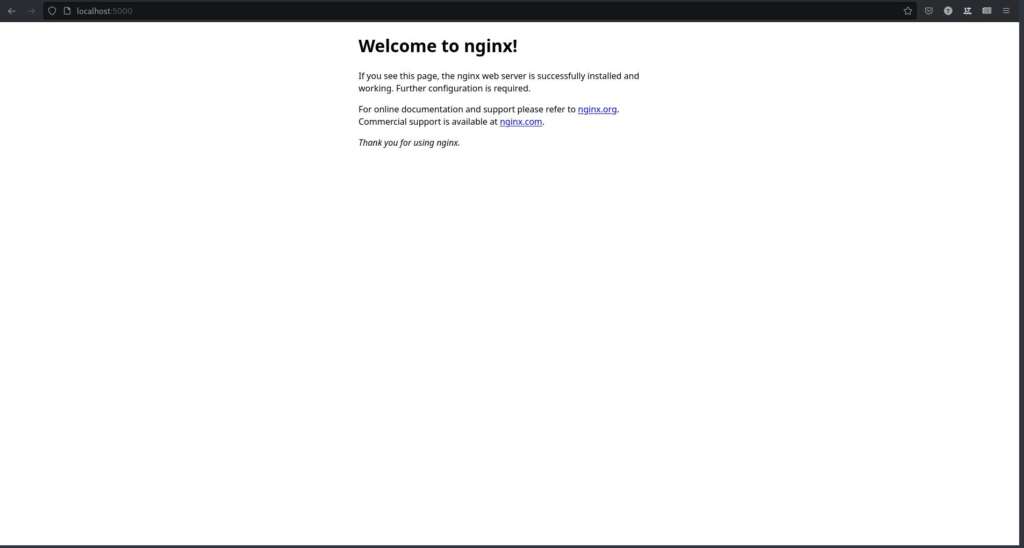
So, you can see here we are using the -L option for local forwarding. 5000 is the port that we will use in our browser to see our hidden site. The local IP is written out here but can read localhost if you don’t want to use the IP. Next we have the port on the server that we are forwarding to our local port of 5000. The rest is part of the standard SSH string. Now to confirm our success, we can look in our browser.
localhost:5000
So, you can see that we have a private default Nginx site that you can customize if you wish. The nice thing is we can do so much with such a simple tool like SSH. We have so many tools right at our fingertips available in Linux repositories, just waiting for you to spark you next, though. The next time you need a website in seconds remember Nginx. The technology is ready to be used as is or bolted to any number of configurations to bring you that creative dream. Thanks for reading.


