
tmux is a C-based, open source terminal multiplexer. What that means is that tmux allows you to open multiple terminals instances in one session, instead of having multiple terminal tabs open and switching between them. tmux can also detach a session so that it runs in the background then re-attach to it at a later time. Which reminds me of screen who also is a terminal multiplexer. If you ever used screen then you’ll have an idea of what tmux can do, if you haven’t tried either than look for our upcoming article on screen, and stick around for tmux!
Installation
Open the terminal of your choice and install tmux using the following commands. Note that some distributions might come with tmux pre-installed, so check by running tmux -V to output the installed version.
For Debian\Ubuntu
sudo apt install tmux
For Arch\Manjaro
sudo pacman -S tmux
This will install a stable version of tmux based on your system’s software repositories. This version won’t be the most up to date, but provides the least amount of installation blues.
From source
If you want to be an all star though, you can build from source. This will require a few packages to build successfully: a C compiler (gcc or other), automake, make, pkg-config, and autoconf. tmux itself requires two additional libraries, libevent & ncurses, to install the required libraries use the following:
For Debian\Ubuntu
sudo apt install gcc automake make pkg-config autoconf libevent-dev ncurses-dev
For Arch/Manjaro
sudo pacman -S gcc automake make pkg-config autoconf libevent ncurses
Once you have the pre-requisites in place, clone the repo, build and install the package using the commands below:
git clone <https://github.com/tmux/tmux.git> cd tmux sh autogen.sh ./configure make && sudo make install
Once installed tmux will have been added to your $PATH which will allow you to use tmux from anywhere on your system.
Using tmux
To start the program simply call tmux in your terminal. You should see the below:
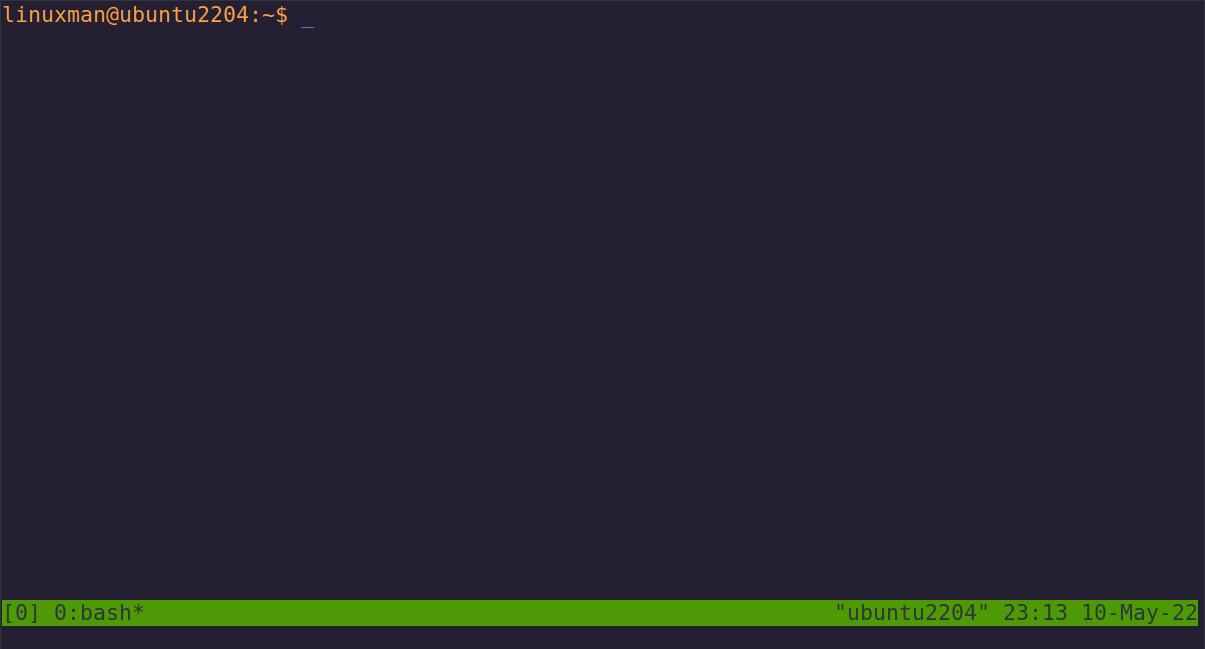
A fresh tmux session consists of one active window, which can be further divided into “panes” each with its own independent shell. The green bar along the bottom of the screen is the status bar. On the right, you’ll find your machine’s host name, along with the time and date. The left side shows the following session info:
					# New windows will show up in the status bar following the below format
[0] 0:bash*
- [0] is the session name. By default, they’re numbered, starting at zero but you can also name them if that’s your thing.
- 0:bash tells you that is the first window in this session (starting at zero). The text after the colon will display whatever program you are currently running, on first boot only the
bashshell will be running. - The asterisk (
*) indicates the currently active window.
Key-binds
The real magic of tmux comes from its key binds which modify window behavior. Issuing commands to tmux is done in two parts: First you prefix your command with Ctrl+B to focus on tmux, then you must press the next key combination in your command to get tmux to act.
General Commands
Here are some general commands that will get you closer to that terminal dashboard of your dreams.
| Default prefix (Ctrl+B) | Result |
|---|---|
? | Display Help |
% | Split window horizontally |
" | Split window vertically |
x | Kill current pane |
o | Cycle through all the panes |
{ | Switch places of the current pane the previous one. |
h or Left Arrow | Move to the pane on the left. |
i or Right Arrow | Move to the pane on the right. |
j or Down Arrow | Move to the pane below. |
k or Up Arrow | Move to the pane above. |
q | Show pane numbers. |
If you use your prefix (Ctrl+b) + ? (question mark) first, you’ll be shown a list of hotkeys along with a short description of the command. From here you’re free to experiment to your hearts content but if you want a more guided approach, you can exit the help screen by pressing q to quit this screen and follow along.
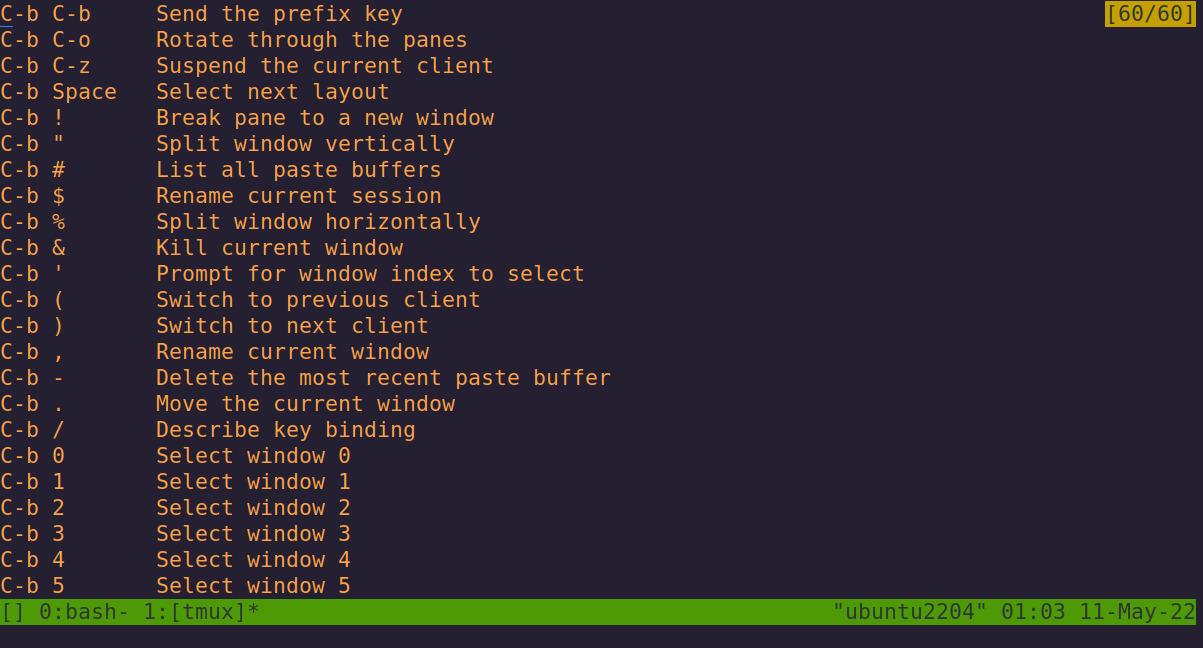
If you don’t like using CTRL+b as your prefix, you can change the key combo via a config file, skip to the customization section if this interests you. Otherwise these next few sections will use the default prefix.
Using Panes
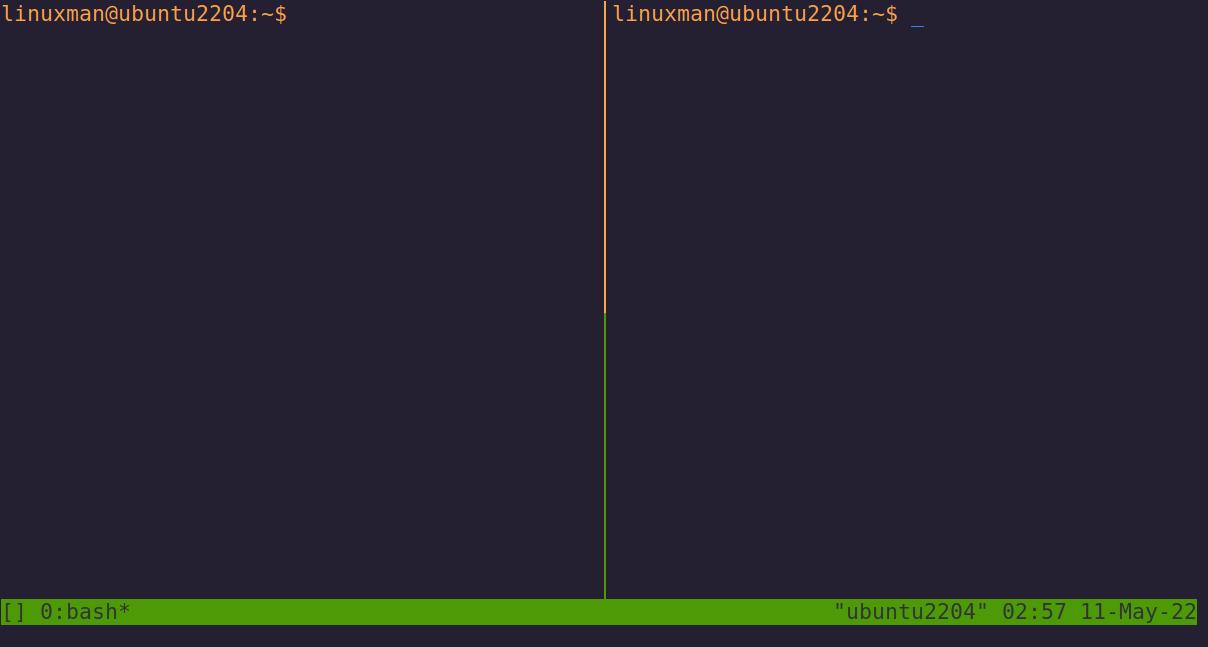
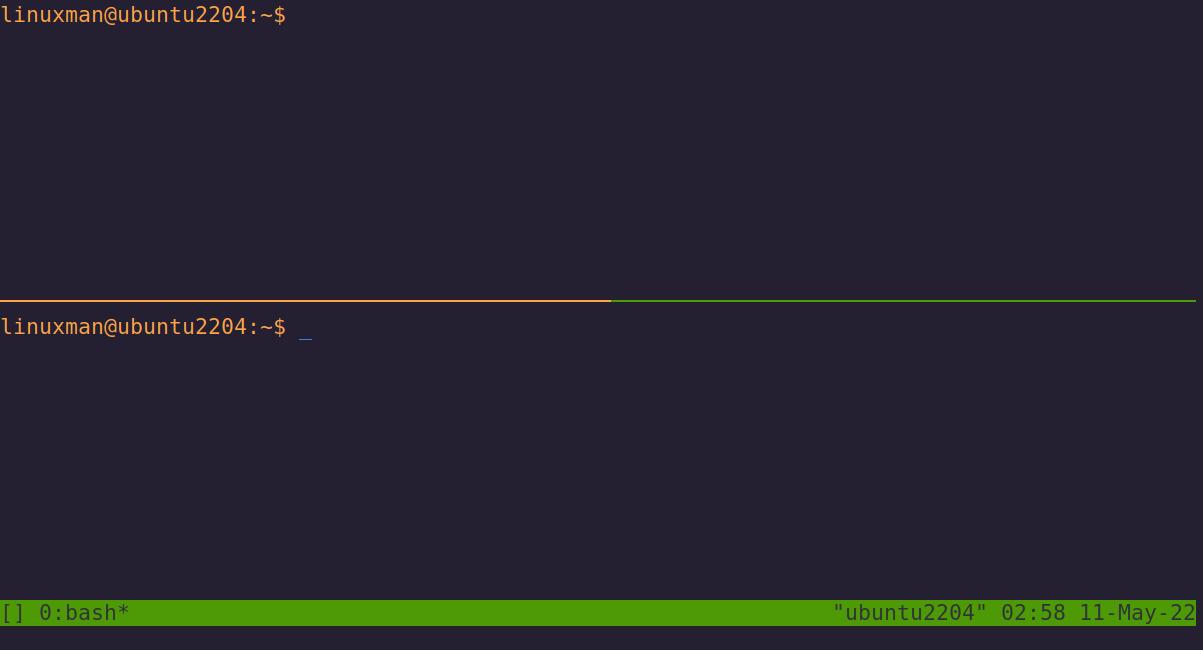
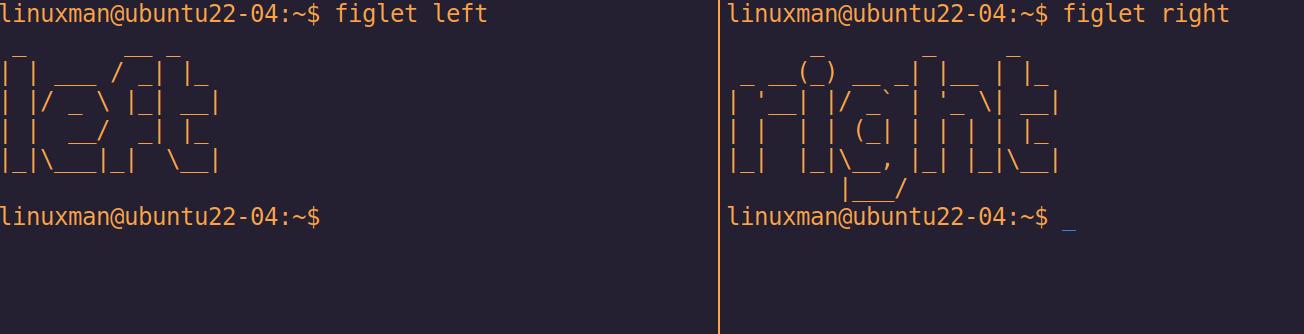
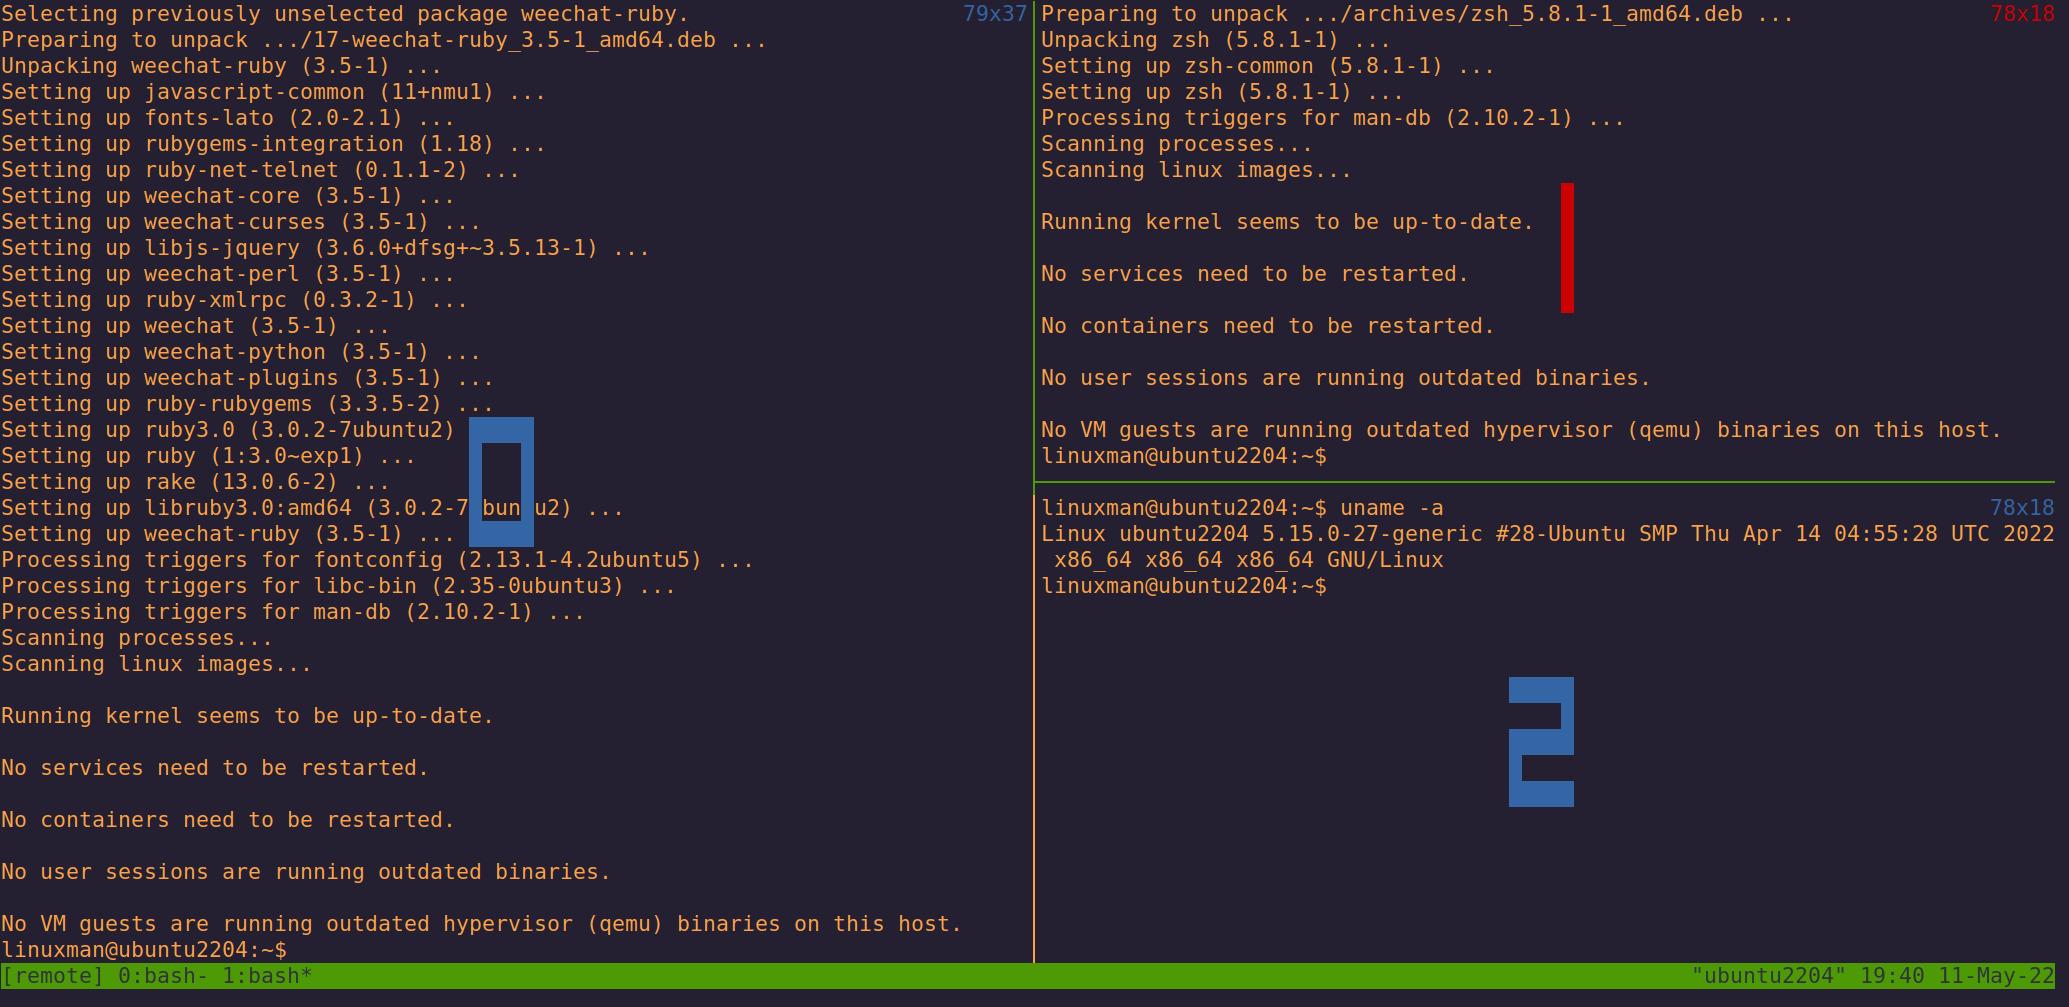
On to one of the best parts of this program, using prefix + % (percent) to split vertically as in the screenshot on the left, or prefix + “ (double quotes) to split the window horizontally as in the screenshot on the right. To kill a pane use prefix + x then typing y when it asks you to confirm, or type exit in the shell.
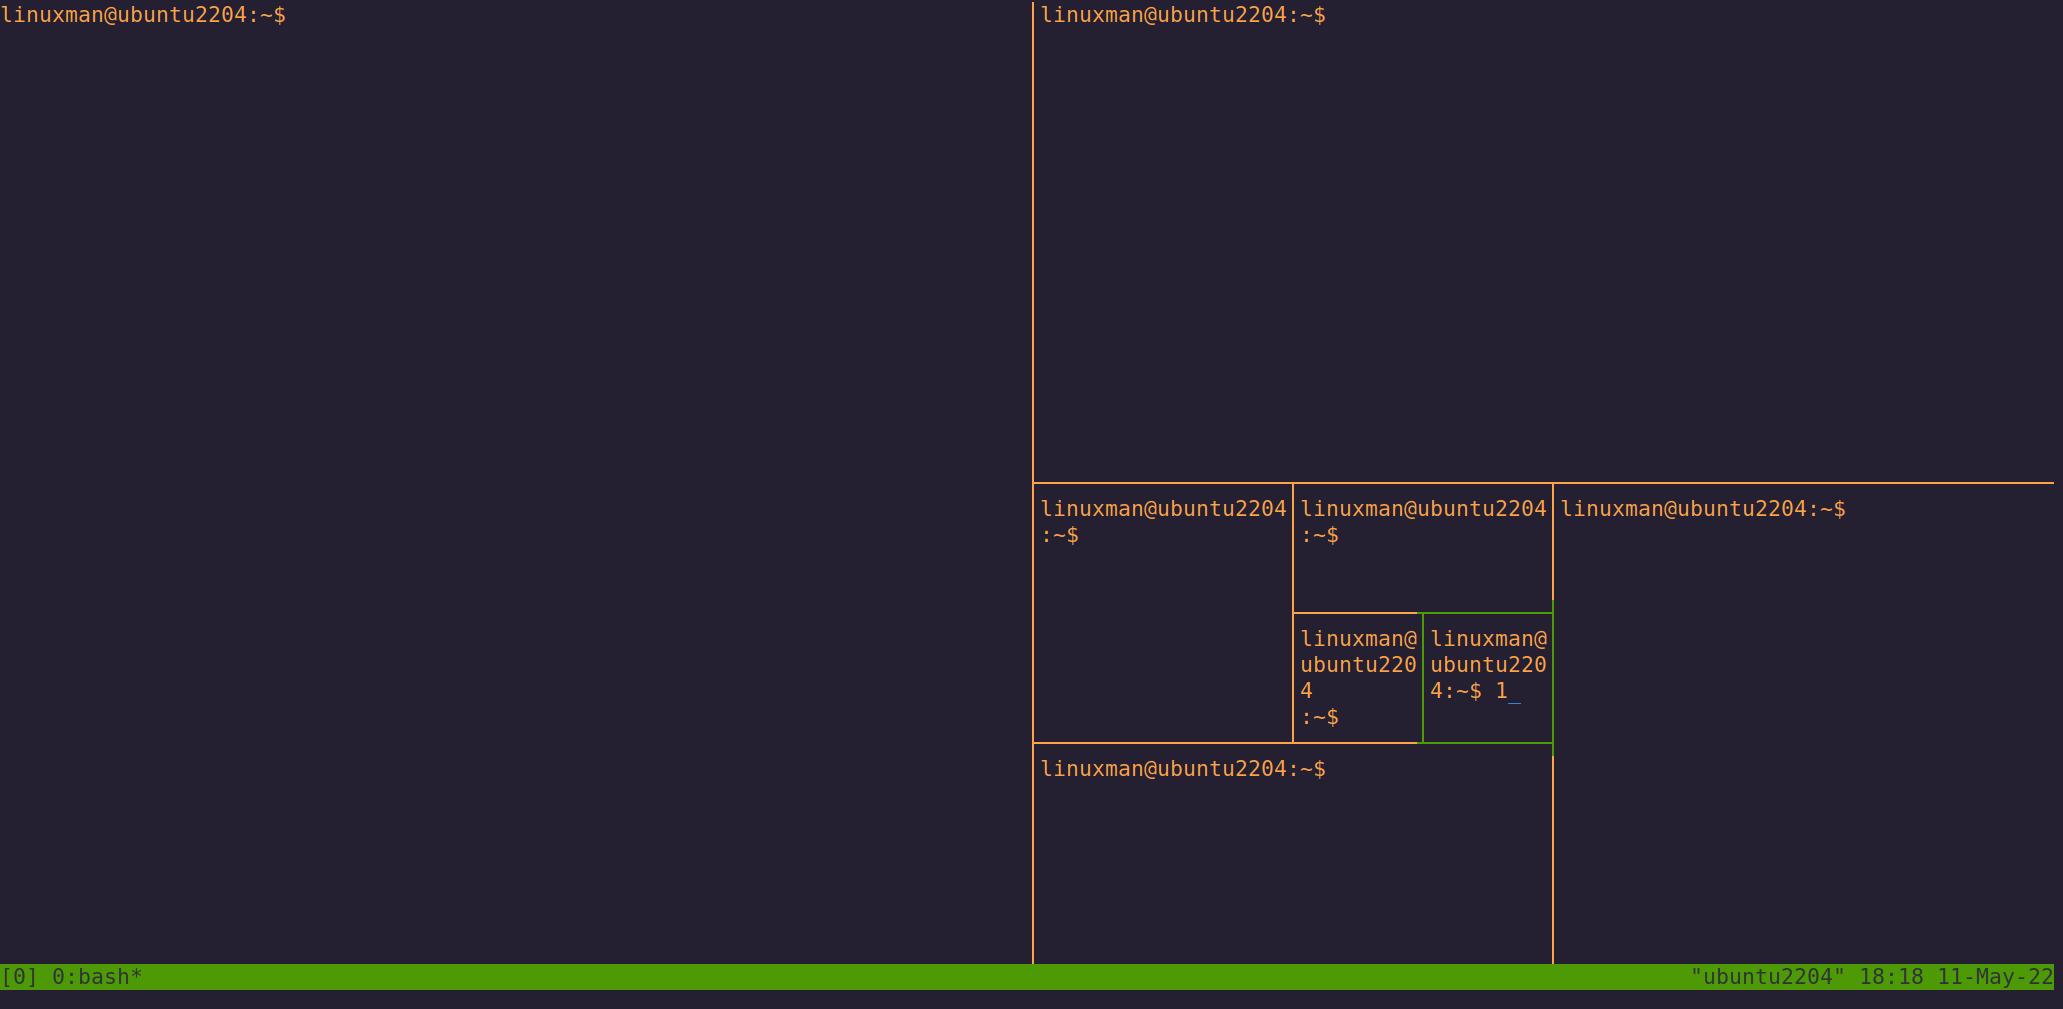
You can split a window into as many panes as you want/need, so long as you have the desktop real estate to spare, but at some point it just starts looking like the Fibonacci sequence and while funny in that dumb geeky way, not super useful.
Switching Panes
To switch between panes you have a few mobility options, using the default prefix (Ctrl+b) + o will cycle through all the panes and using the Ctrl+b with the arrow keys ← ↑ → ↓ will allow you to select the pane based on the direction it is in.
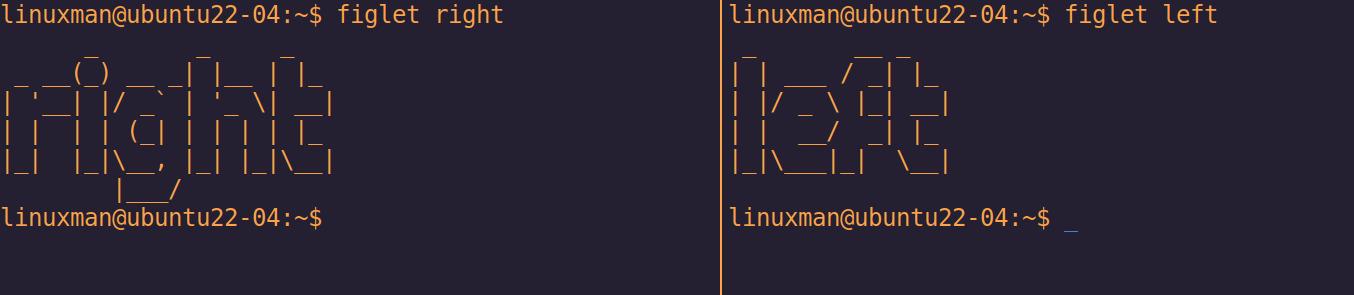
Swapping pane position
To illustrate the point here, I’ll recruit figlet to conjure up some interesting imagery to play with.
To swap the position of panels hold down the prefix and press o once, this will swap the position of the currently selected window with the adjacent one.
Adjusting pane size
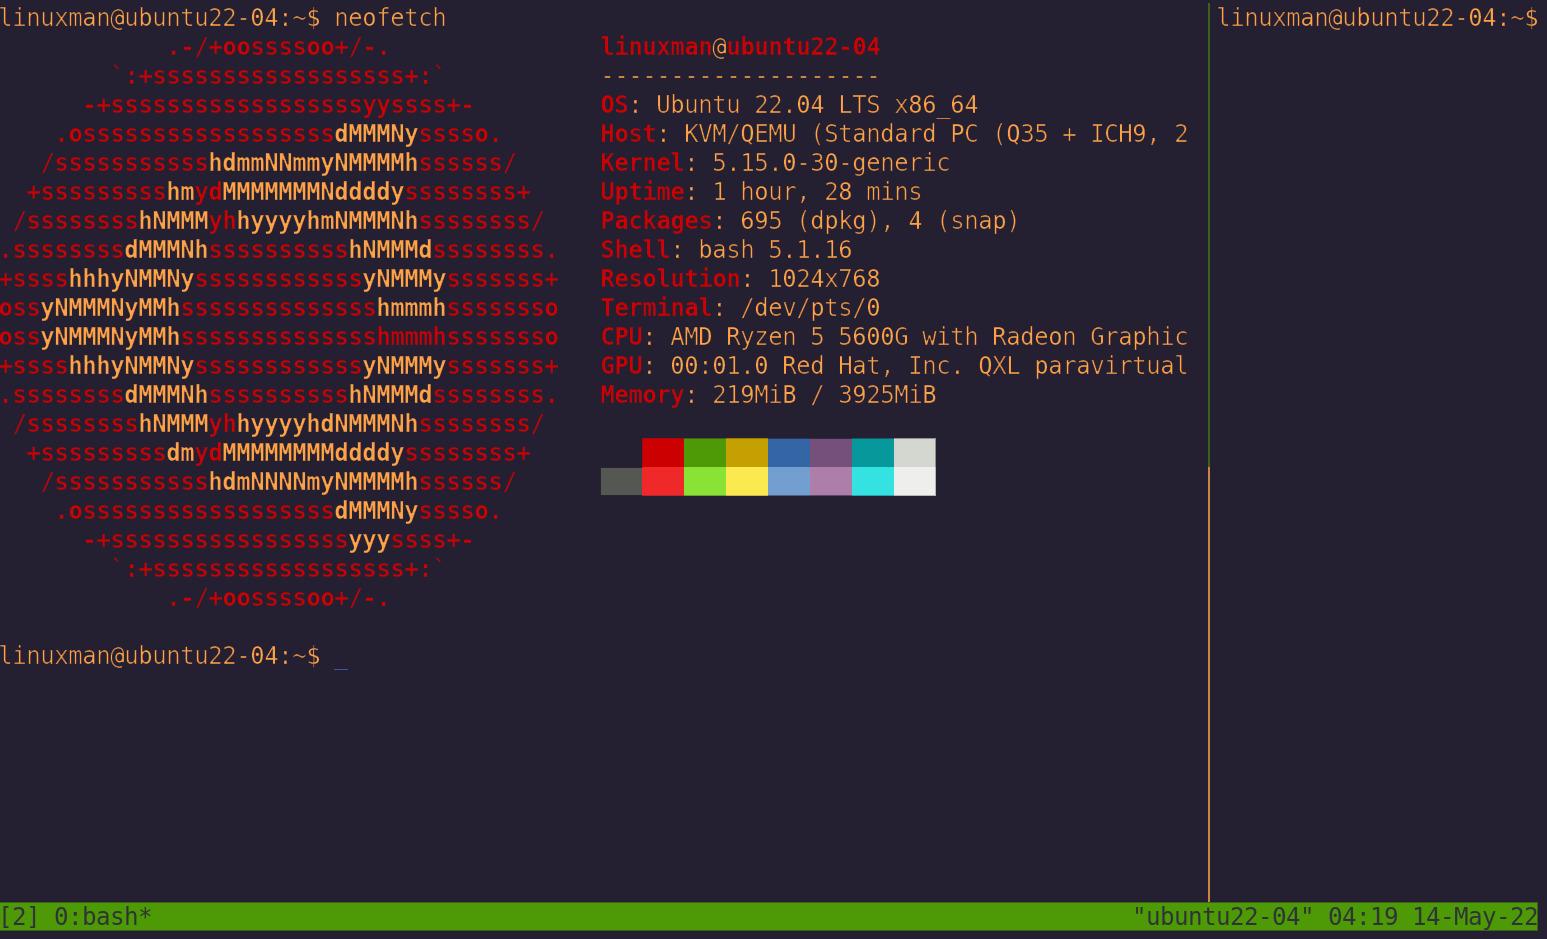
To adjust the size of the panes, select the pane you want to adjust then use the arrow keys ← ↑ → ↓ while holding down the prefix (Ctrl+b).
Showing pane numbers
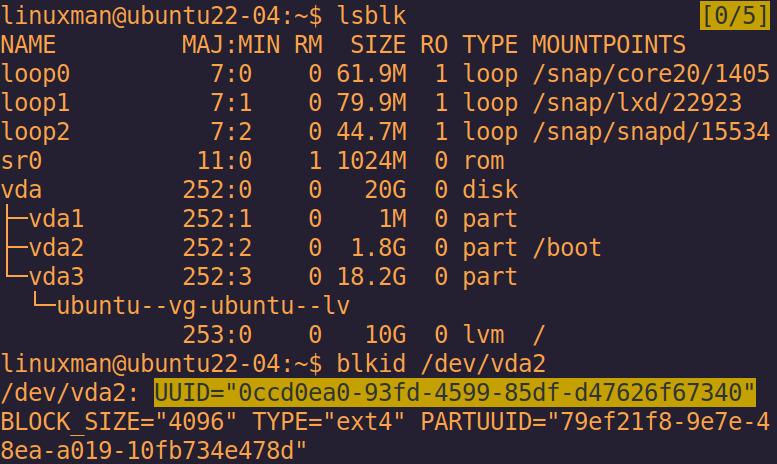
Another key combo you’ll want to keep handy is the show pane numbers command (Ctrl+b + q). This will show a number of the pane along with the current pane size. While the numbers are still onscreen you can quick-switch to any pane by pressing the corresponding number key.
Copy & Paste with tmux
If you don’t have a mouse available to you, you’ll want to know how to use tmux’s copy & paste functions. To enter copy mode use the prefix + [ (left square bracket) which puts you into copy mode. While in this mode use the arrow keys to position the cursor at the beginning of the line you want to copy. Then hit Ctrl+Space to enter text selection mode, again using the arrow keys to select the text you want to copy.
With your selection made, use Ctrl+w or Alt+w to copy the text selection into the clipboard. Once it’s in the clipboard you can paste this text into any pane or window. To do that, use the prefix + ] (right square bracket) to paste your text selection into your target pane/window.

I’ll admit it takes some getting used to but, editing fstab over terminal has never been easier. Here’s a summary reference table to get comfortable with.
| Prefix (Ctrl+B) | Result |
|---|---|
[ | Enter copy mode (use arrows to position cursor). |
Ctrl+Space | Enter text selection mode (use arrows to select text). |
Ctrl+w or Alt+w | Copy text to clipboard |
] | Paste copied text |
We can create a new window using the Ctrl+b + c which will immediately switch you to the newly created window. You can then switch between windows using the Ctrl+b + n or p for the next window or previous window, respectively. To kill a window use Ctrl+b + &.
| Prefix (Ctrl+B) | Result |
|---|---|
C | Create a new window. |
n | Move to the next window. |
p | Move to the previous window. |
0-9 | Move to the window number specified. |
& | Kill window |
To list all the windows and preview their contents, you can use Ctrl+b + w to list all the windows:
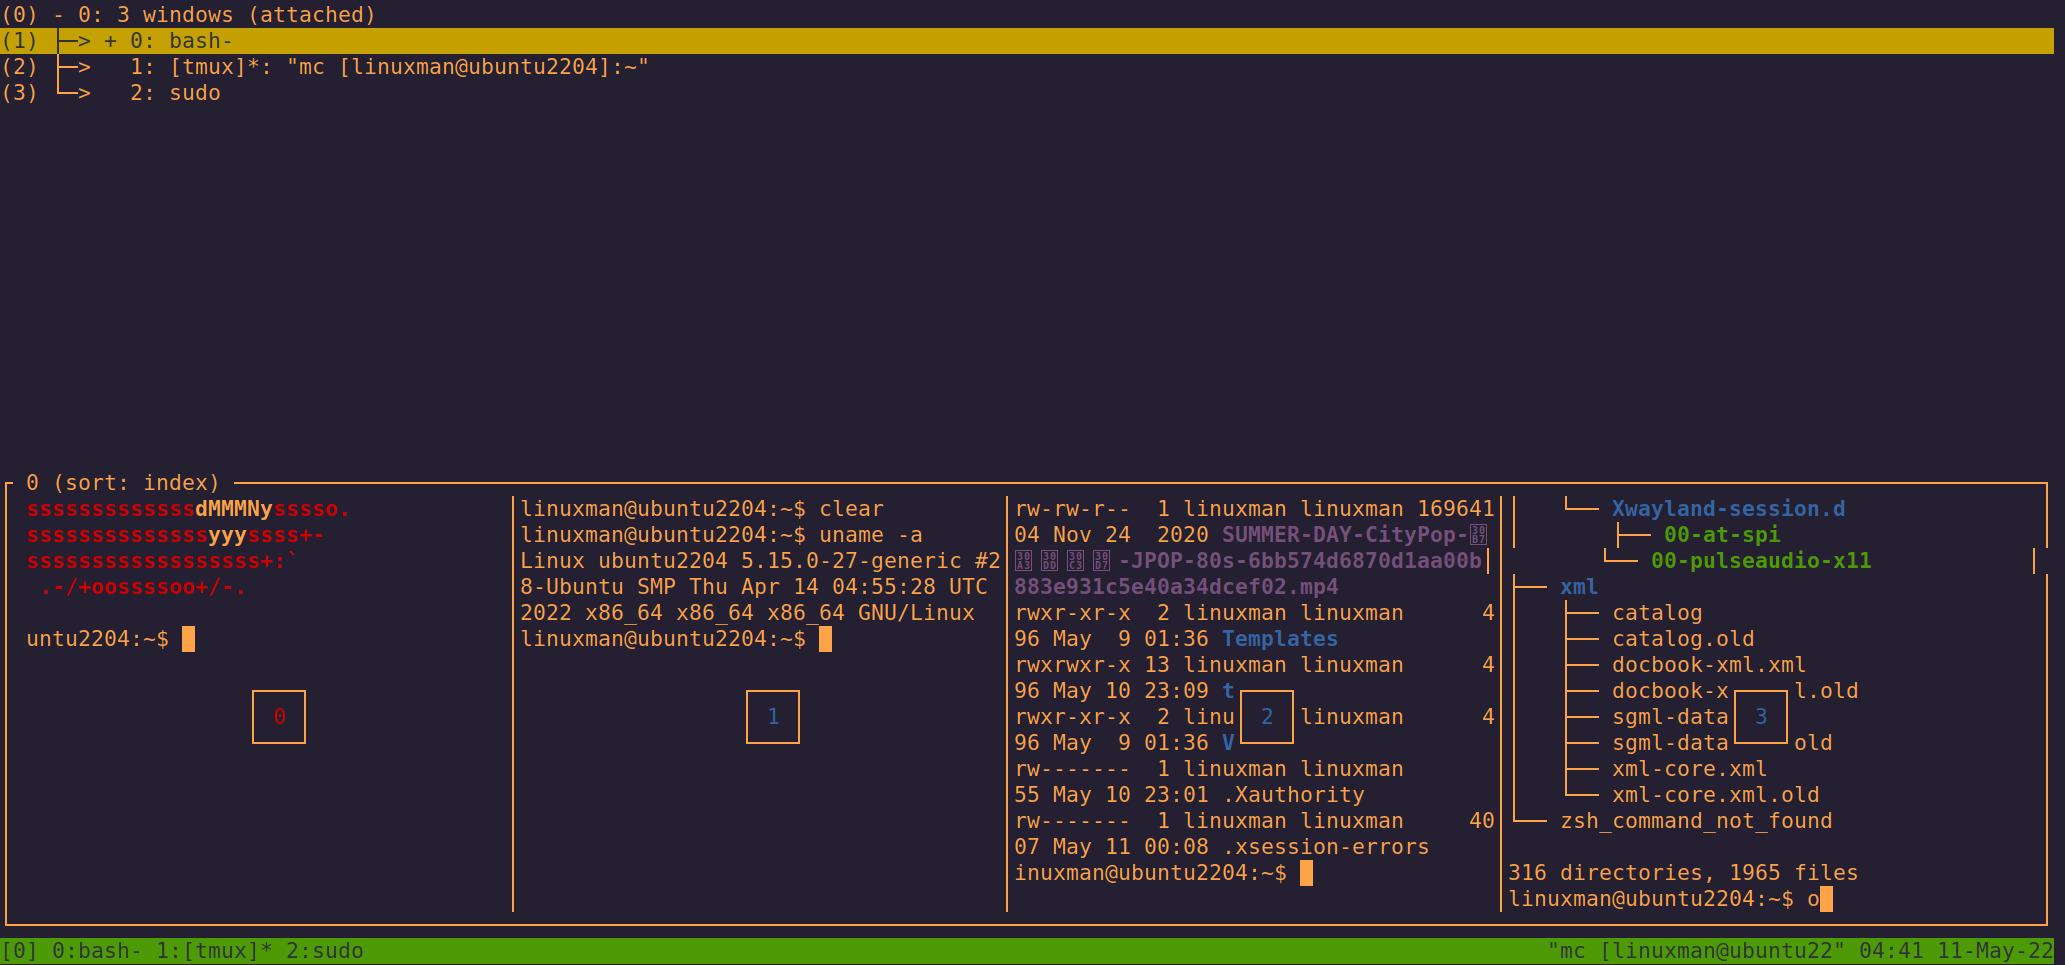
You can also use the arrow keys in this menu to switch between the windows and see a preview of their panes in the bottom half of the screen, you can press enter to enter that window. If you need to rename a window you can use Ctrl+b + , (comma) which will open a context menu that will give you the option to do a few things.
| Prefix (Ctrl+B) | Result |
|---|---|
w | List the windows. |
, | Window management menu |

This menu is available to you at most times, and from this menu you can rename a window, respawn (restart) the session, swap its position with other windows (if there are other windows to move to), kill the window, rename it or spawn a new window before or after it in the window order area of the status bar. You can also mark a window from here or using the prefix+ m which will highlight the active pane with a thick green border to differentiate it among the other panes. Good to highlight important panes when you really have a crazy session going.
Now let’s checkout naming our sessions to give them more context. This is a nice-to-have as with tilda, you can’t rename tabs. You just have to use your short term memory, and mine isn’t that great so being able to label a session is rad.
Named Sessions
To get familiar with using named sessions let’s first exit tmux entirely and then restart it using this command:
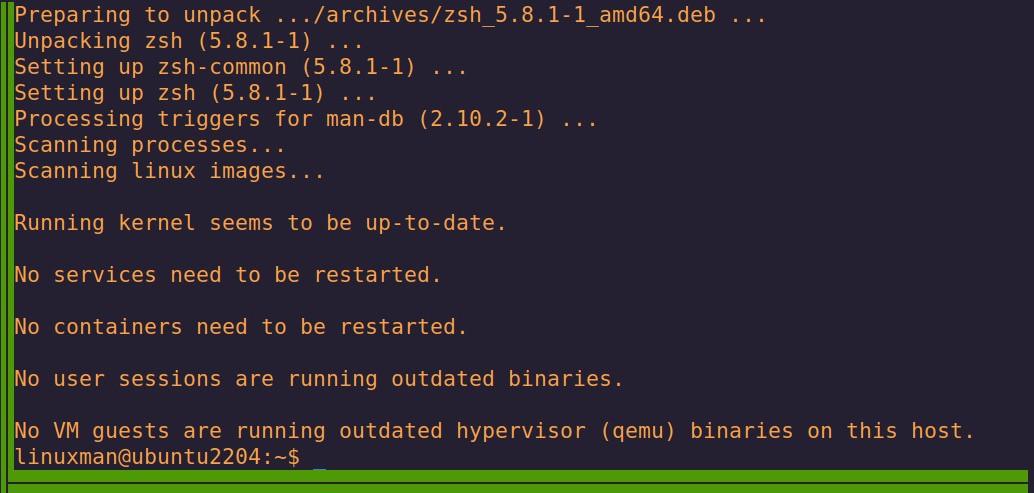
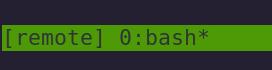
tmux new -s remote
This will start a new tmux session under the name ‘remote’. You’ll find the name of the session in the status bar.
Detach a session
To further our point lets detach from this window using Ctrl+b + d which will spit you back out to your native terminal:
| Prefix (Ctrl+B) | Result |
|---|---|
d | Detach window to run in background |
Using the above command again, let’s create another session but this time lets name it “local”.
tmux new -s local
Reattach a session
Once you are inside this session, we can use Ctrl+b + s to list all the tmux sessions running on the system (even the detached ones). The window that you are in will be listed as (attached).


Using the arrow keys will allow us to browse the available windows and pressing enter will focus that session in. Using Ctrl+b + $ (dollar sign) while in this menu, will allow us to rename the highlighted session, anywhere else and this menu will target the current active window.
| Prefix (Ctrl+B) | Result |
|---|---|
s | List sessions. |
$ | Rename current session. |
Customization
I’ll admit, I wasn’t a fan of the default prefix keybind either, in fact I absolutely hated it, here’s how to change it. Using the text editor of your choice, create the following conf file: ~/.tmux.conf. Then enter the following within it.
					# ~/.tmux.conf
set -g prefix C-a # the alt key can also be used, use M-a for alt+a
unbind C-b
bind C-a send-prefix
In the very basic config above we are setting a new prefix using Ctrl+a, unbinding the default, then binding our new default to the prefix. Once you’ve done that open any tmux session and run this command inside the window to load your custom key-binds.
tmux source-file ~/.tmux.conf
One more setting I’d recommend adding to your .tmux.conf file is mouse mode. This will allow you to manually adjust the size of your panes, because the 1:1 ratio is fine for demonstration, but in practice sucks. With mouse mode you’ll be able to navigate and use the UI via mouse click in addition to the normal keystroke mode. This alone really ups the quality of life substantially.
					# ~/.tmux.conf
set -g mouse on
Conclusion
tmux is definitely a workflow changer if you are used to tabbing it up like I am. My go-to terminal is tilda, which uses tabs, but cycling through 3-5 tabs at a time kinda blows, like spinning plates but virtually and not as cool. tmux is very much a different vibe but familiar all at the same time. That was tmux, and I hope you liked tmux because I sure did. Also be aware that the customization options don’t end there, tmux allows you to customize all of the key-binds, status bar, add plugins, and even change it’s appearance, but that is a guide for another day.


