
Ever need a virtual machine fast, without having to find the ISO file yourself? Today you are in luck, GNOME Boxes is user-friendly with a simple interface. Best of all, it is a nice GUI for KVM (kernel Virtual Machine), making it way faster and less clunky than something like VirtualBox. Putting many distributions right there at your fingertips. You can simply select a distribution and go. Making it one of the best virtual machine GUI that you can recommend to friends. GNOME Boxes, conceived back in 2011 was originally developed with not only virtual machine capabilities but VNC (Virtual Network Computing). They have since dedicated that the application should handle virtual machines, only. The VNC part of the application was developed into GNOME Connections. GNOME Boxes use QEMU and libvirt in addition to KVM to make the process feel so seamless. If you have ever tried to set up KVM with the libvirt libraries to set up your GUI, then you know how awesome something like GNOME Boxes really is. Being a “just works” KVM virtual machine manager.
Today we will explore how we can make a virtual machine at the push of a button practically. With no need to hunt too much for an ISO file. Next, we will show how to use it with an ISO file, so you can use distributions not in the provided list. Making sure that you have a good understanding of how to use GNOME Boxes. The best thing is, you don’t have to install it on distributions that come with GNOME. We will go ahead and install it on a few distributions to make sure anyone can use it. Finally, we will test a server installation and a workstation to help you with your expectations. Now let’s get into some virtualization with some power behind it.
Installation
Now we are not too worried about theming in this one, but there are tools and themes if you are not running GNOME, to style GNOME applications to look more native. We will go ahead and install Boxes on Arch, Debian and RHEL distributions. Remember, if you run GNOME, you most likely can skip this step. Don’t forget to enable virtualization on the machine you plan to use. This setting is often in the BIOS that can be accessed on boot, using a key combination that is different for most brands. So, you will need to look up the steps for your machine. Always start by updating your distribution, then follow the steps that pertain to you.
Arch
sudo pacman -S gnome-boxes
Ubuntu/Debian
sudo apt install gnome-boxes
RHEL/Fedora
sudo dnf install gnome-boxes
Troubleshoot
Now, if for some reason you have any troubles, you can go ahead and install the supporting libraries and applications as well. Just in case you need them. You could be running a bare bones minimalist installation after all.
Arch
sudo pacman -S qemu virt-manager vde2 ebtables dnsmasq bridge-utils openbsd-netcat
Ubuntu/Debian
sudo apt install qemu-kvm libvirt-clients libvirt-daemon-system bridge-utils virtinst libvirt-daemon
RHEL/Fedora
sudo dnf install qemu-kvm libvirt virt-install libvirt-devel virt-top bridge-utils libguestfs-tools guestfs-tools
Now, you may see some similarities to the packages, yet each installation string is different. You should really not need this step. We just don’t want to leave you hanging.
Guest installation Express
Now we have ways to use images and ISO. The most user-friendly way to do this is to use the ISO download feature to help you get a server started. We will set up a Fedora server using our new VM software. Now you will want to start GNOME Boxes.
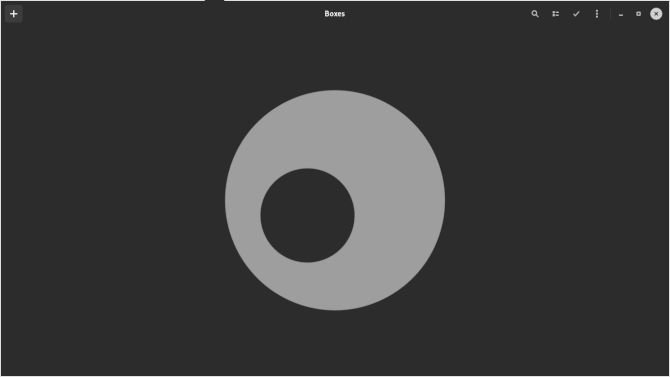
To make a new VM, all you need to do is click on the plus sign in the top left. This will bring up a menu to choose one of the images they offer to download for you.
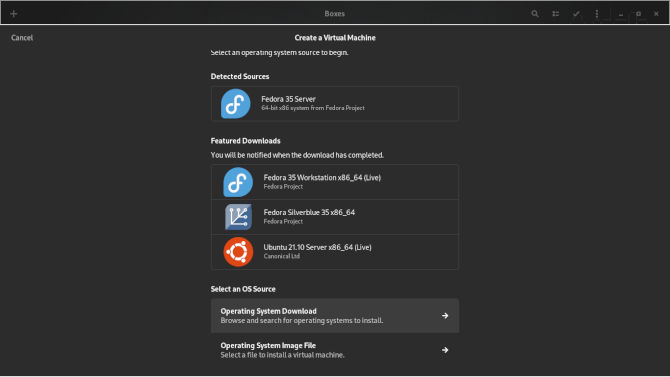
We are going for the Fedora 35 server edition. This can take a few minutes or could be lightening fast. So, it is really up to you and your connection. The ISO you chose will be downloaded to your Downloads’ directory automatically, all on autopilot. Making it rather effortless to get most distributions. Next, you will see an option for customization. Go ahead and click that button.
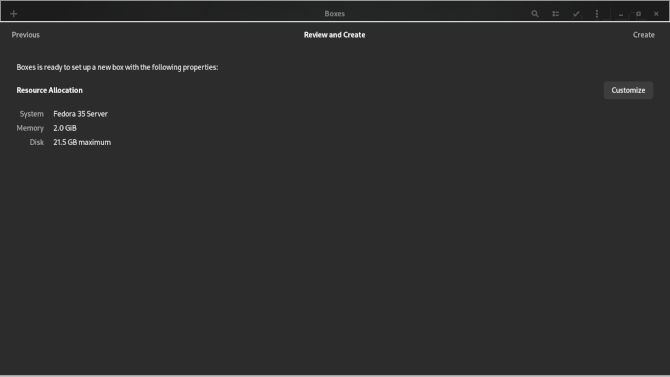
This is where you can add more RAM, which should at least be up to 2GBs, for best performance. You should give it at least the recommend drive space, but you can give more depending on what you are doing with this VM. Next, your VM will start at the installer start screen for Fedora. Go ahead and hit start.

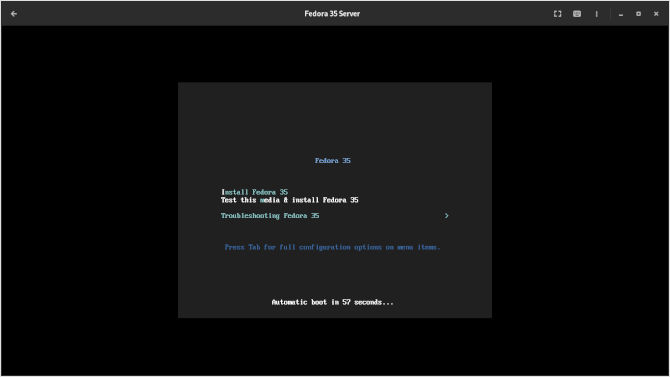
This is where we leave you with this installation. The rest is guided pretty nicely by the installer. Getting your locales and languages up to specs.
Guest Self Source Installation
Now let’s go ahead and install Arch from our own files that we download and verified the checksum for already. Now we will select download file here instead of the images offered for download. This is located at the bottom.

Now we will see our file system in our file manager, you can navigate to your ISO cache. You can see, we are checking out all kinds of distributions. Not just a hobby, but a way of life.
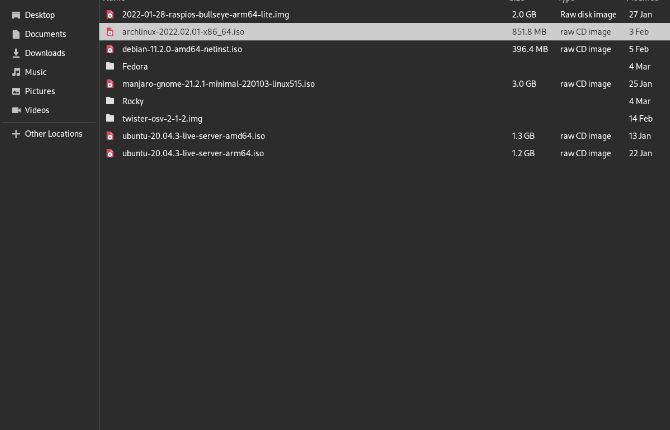
We are selecting Arch because why not Arch? Why not go bleeding edge rolling release crazy? We can run all the newest kernels and all the experimental stuff!
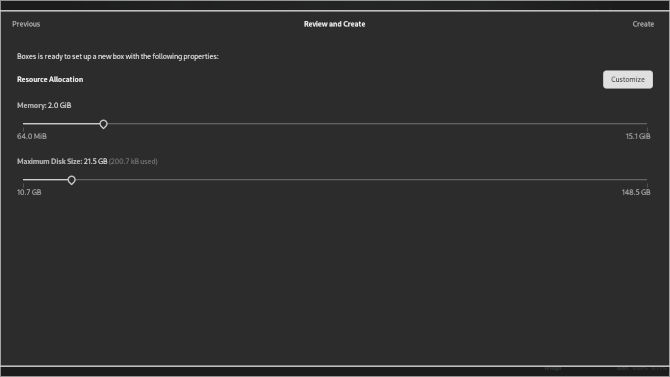
Now we are going to click the customization button. Then we will choose enough Ram for your needs, but at least what is recommended. Same for the disk space.
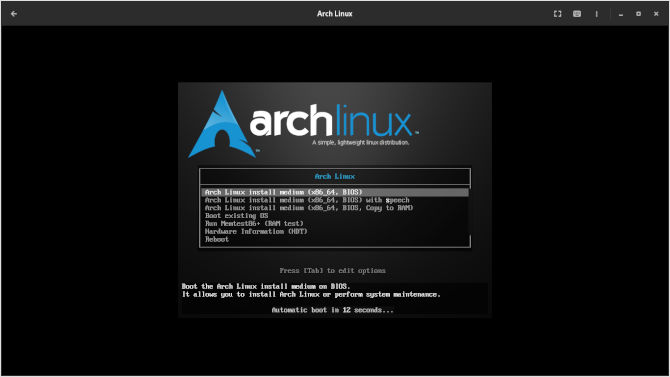
Now you will be greeted with the Arch installer start screen. You will go ahead and say yes here.
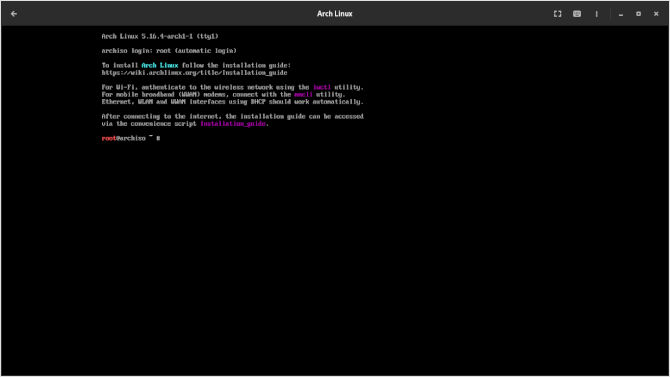
That will bring you to the Arch installation command prompt. Perhaps we will make an Arch base system installation guide another time. Now we have much more exciting hypervisor style installations with KVM running headless on a server coming in the near future. That way, you can use this fully featured virtualization technology to its fullest. Bringing you closer to a development goal, or perhaps something study related. You can fire up an office set up with KVM, or you can even just have twin redundant servers during scaling. You can even have different sites running simultaneously from the same bare-metal host server. We hope you enjoyed dipping your toe into native Linux virtualization. Thanks for reading. Till next time, get stuck in some Boxes.


