
Did you know that RHEL(Red Hat Enterprise Linux) is replacing YUM completely? DNF, another package manager that uses RPM, libsolv, and hawkey libraries. Written in Python predominantly, DNF has been available on all RHEL systems since version 8. DNF is short for Dandified YUM. Now, when you are using YUM, it pulls from DNF repositories for backwards compatibility. We are going to pop in a VM and learn how to use the DNF package manager!
If you have not had a chance to check out our blog Virtualbox, a beginners Journey, then go ahead and read that first to follow along with our test VM. That is, if you don’t run something like Fedora workstation. Make sure to give the VM about 15 GB to run properly. Grab an iced Chai latte and get cozy, we will get started.
FRESH INSTALL
When using a fresh installation of Fedora workstation, it is good to update first thing. Syncing your package database is the first thing you do the first time you fire up any distribution. Similar to other distributions, we will use the sudo and update commands to update the repositories.
sudo dnf update
Just like YUM or APT, it’s that simple. Just wait and let everything do its thing here. Unlike APT, DNF will also upgrade without a separate command, saving you at least one command. All you need to do is say yes to the update.

You can see this update is going to take a while as it might be up to 1 GB. Just because it will be a little slow now does not mean it will always be this way. We do have a configuration trick to speed up updates going further. Once everything is up-to-date, we will open our DNF configuration file.
sudo vi /etc/dnf/dnf.conf
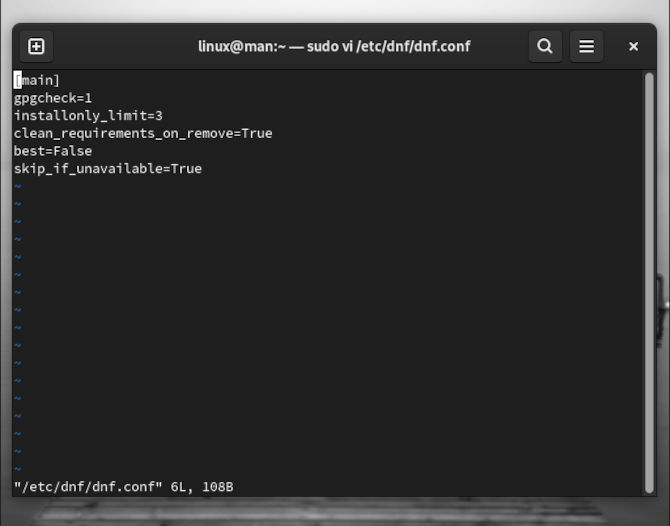
What we want to do is add to the bottom of the file. So navigate your cursor to the bottom and type a. This way, you can add two new configuration options.
					max_parallel_downloads=10
fastestmirror=True
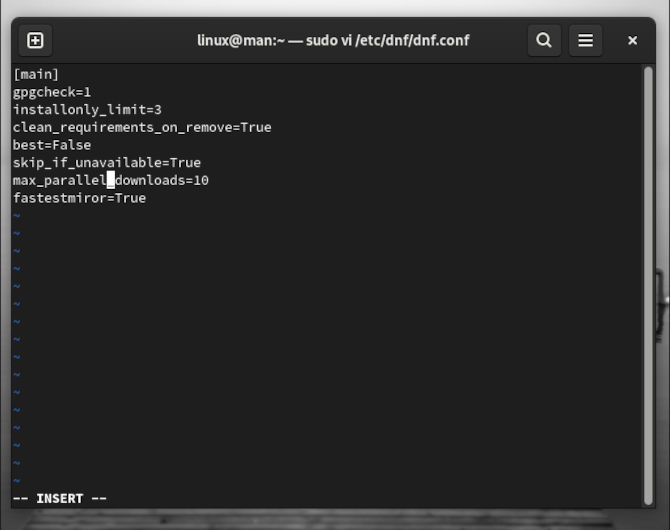
Go ahead and type :wq to write and quit the file. Just make sure you do not misspell anything you add to this file, as you may give yourself an error. This will bring up your max parallel downloads from three to ten, speeding up the download time considerably. Then, we are also only trying to pull from fast mirrors. Now, we can go ahead and clean up the packages.
sudo dnf clean all
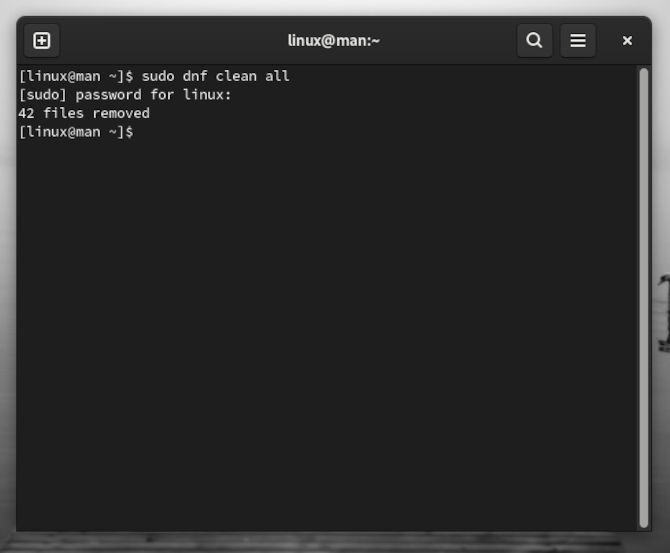
Then we will be able to update much faster from this point further. This can be repeated on any distribution that uses DNF for a package manager. In fact, you can increase the max parallel downloads of many package managers, like pacman on Arch, for instance, making updating lightning fast.
DNF PACKAGE MANAGER BASICS
We can now add some helpful options to help us save time and learn more about the packages we happen to be installing. Also, we will show you how to make the out-put considerably less. Let’s start with the something you might use the most.
sudo dnf install vim -y
You can see at the end we added a -y. This is to say yes to the manager when asking if you are sure you want to install this package or packages, more likely. Saving you a step. Now, let’s try another option to go with this one, while installing another useful package.
sudo dnf install nautilus -y -q
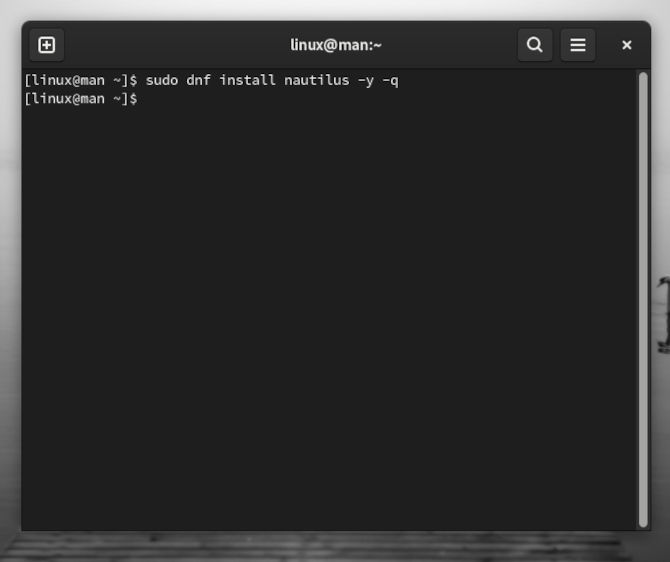
The -q option will quit the print-out that would tell you the information about the package, leaving very little activity in the terminal. Now, let’s try another option.
sudo dnf install vim -y -v

Now, you can see we are using a different option -v to make the print-out verbose. You can see we already have Vim installed so that nothing will be done. Now let’s purge a package.
sudo dnf remove vim -y
Using “remove” in place of “install” will remove the specified package. This makes DNF easy to use and logical to understand what is going on.
REPOSITORY LIST MANAGEMENT
Now we will find out what packages are available to be installed from all the repository list that are available to Fedora.
dnf repolist all
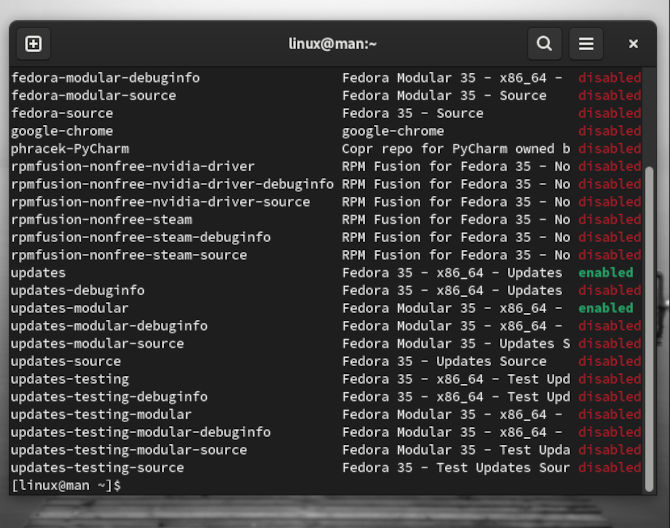
You will see an enormous print-out here, so many options to test out all kinds of new technology. That is one of Fedora’s strengths. Now, if you want access to all of these repositories, then you may want to run the next command.
sudo dnf repolist enabled

This is easy to change back with a similar command. You may want to check things out first to see what there is to offer. You can always look up what they are good for and try out a project.
sudo dnf repolist disabled
Next, you might want to enable just one particular repository. This just takes a little longer of a command. Pick a repository to replace “repository_name” with.
sudo dnf config-manager --set--enabled repository_name


