The word virtualization seems to be thrown around a lot today, from virtual reality to Virtual Private Servers. Today, we will be talking about how to use virtualbox for testing out a Linux distribution with ease. VirtualBox is a compelling type II virtualization tool for use in workstations so that they may give the user access to many operating systems. It is the most kid gloves way to install Arch. This way, you can concentrate on learning the process, then learn your hardware step by step. Likewise, you can run any server you wish without the hassle of using a home lab setup. Let’s see what this is all about.
INSTALL
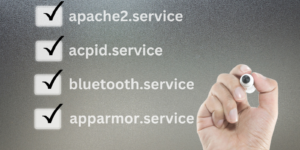
First thing we will need to do is install VirtualBox on a host system. This can be any distribution, or perhaps Windows if you have not made the change to Linux yet. One huge tip we would like to share with you if you are running Linux is, that during this installation, feel free to put a hyphen after the VirtualBox package and then hit tab twice before installation.

Notice that we can see all the possible additional packages you can install with the base package. We would encourage you to research those additions to see if they suit your purposes. Also, before installing virtualization software on your hardware, make sure your hardware can even use said software. Maybe you have something similar to the bios setting in my laptop. Make sure to set that to accept virtualization now. Let’s demonstrate how to install VirtualBox on Debian, Arch, openSUSE, and RHEL. This includes every distribution that is based on them.
Debian
sudo apt install virtualbox
Debian
sudo pacman -S virtualbox
openSUSE
sudo zypper install virtualbox
RHEL
sudo yum install virtualbox
ISO BASICS
One of the best things about VirtualBox is that you can install pretty much any distribution without too much difficulty. Giving you a chance to check out your future distribution of choice, or build a local server to learn to admin, or even develop software. You will need a .iso image of a distribution to try out now that we have VirtualBox installed. We will check out Distro Watch for this.

Now you will want to download the distribution in one of two ways. You can use the web interface download method, even choosing your country and region. This can be very slow. If they have a torrent option go for it, we would suggest Transmission to do this, as it is user-friendly. It is also included in many distributions, not to mention compatible with most operating systems. The very next thing you want to do after download and seeding, if you have the free bandwidth, is verify you have a good copy of this distribution. You will always see a verification checksum or checksums for any self-respecting distribution. They should look something like this.
Now, there are a couple of ways to do this. We can use md5sum or sha256sum in the command line, pointing at the file we wish to verify. You want to avoid skipping this step, as you could end up running a corrupt or tampered with copy of your distribution of choice. Go to your Downloads directory to start. It’s easy, let’s try it out.
md5sum imageyouchose.iso

Just use your .iso file in place of “imafeyouchose.iso” and it will print out a checksum to verify. Then cross-check it with the checksum you were presented at download, and you should be good. If it does not match, then download it again and repeat the process.
HOW TO USE VIRTUALBOX, FINALLY...
This is easier than it sounds, we just need to make some choices that will insure our new system will run. We will be running Ubuntu server during this installation to demonstrate portability later. So, we will start VirtualBox, then we will create a new virtual machine.

You will notice if you name it Ubuntu that it will know the rest of the specifications. If you picked an unnamed distribution, then just make sure you pick 32 or 64-bit Linux, depending on what you’re running. Now we will want to decide how much ram to give the VM. We will give it 2 GB since we are just running a server.

Now we will want to give the VM 10gb. This is more of a minimum depending on what you are doing. It just happened to be the default.

We will once again pick the default using a VDI (Virtual Disk Image)

We will use dynamic allocation.

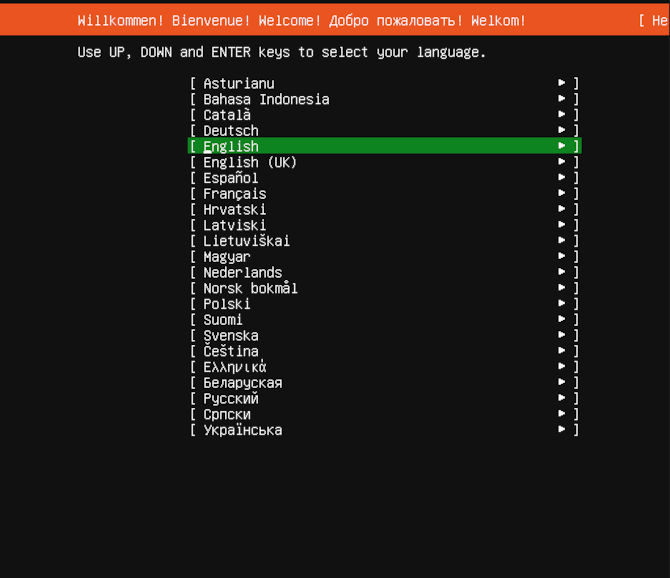
Now we will once more follow the default and use 10gb of space to give for file allocation. Next we will get into the installation of the .iso. We will need to start the VM to get things going. This will prompt a window to choose an image to boot from. You will need to navigate to your Downloads folder and select your .iso file. Then your VM should start booting your server for the first live boot. This should take you to pick your language.
CONFIGURE UBUNTU VIRTUAL MACHINE
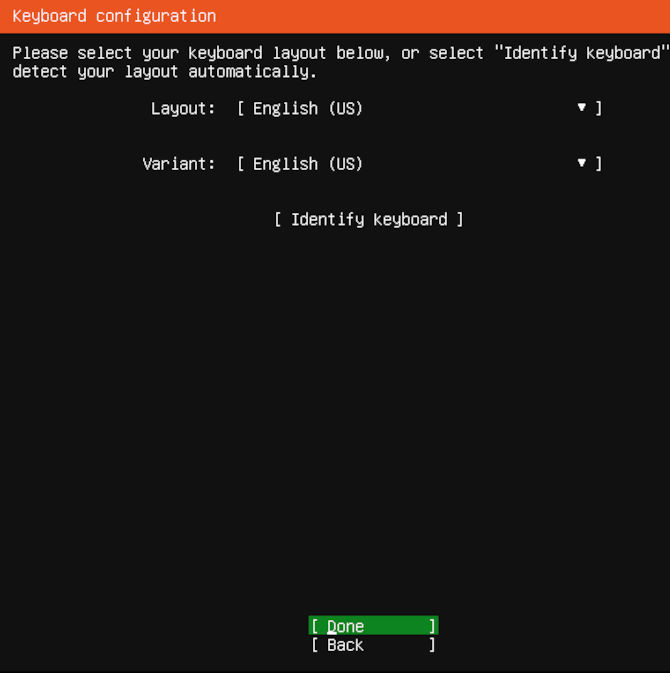
Next, you should be asked what language you would like the keyboard set to.
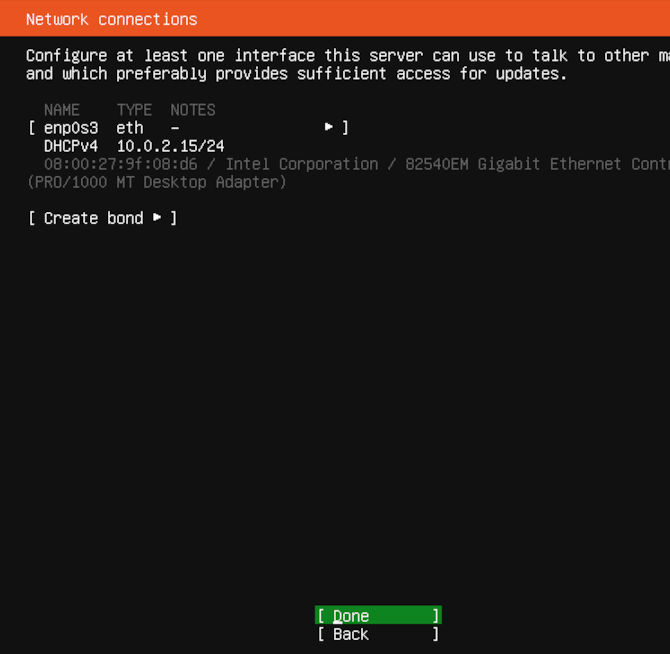
Next, it will ask you about networking. Just accept the default, as it is automatically generated as an Ethernet connection.
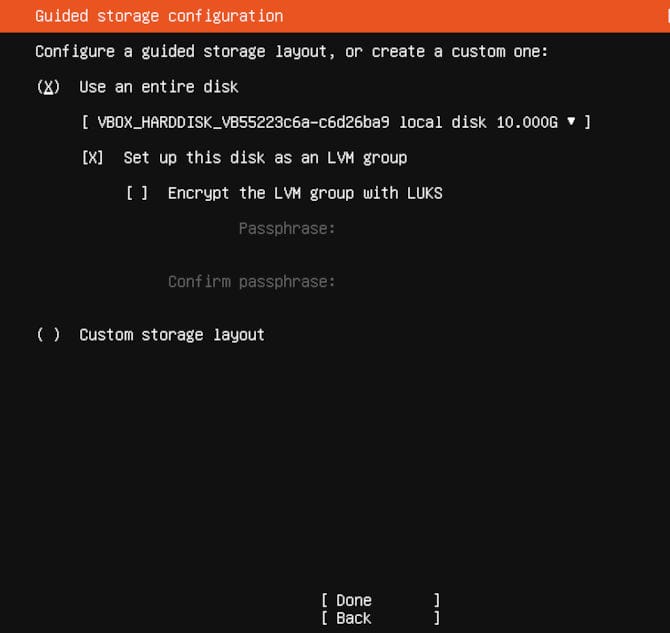
The next two settings you can use the default as they are for the use of a proxy and the use of a particular mirror. These two settings should not matter much, more so in the wild. Next, we will choose to use the entire disk. Since it is allocated, we have nothing to fear.
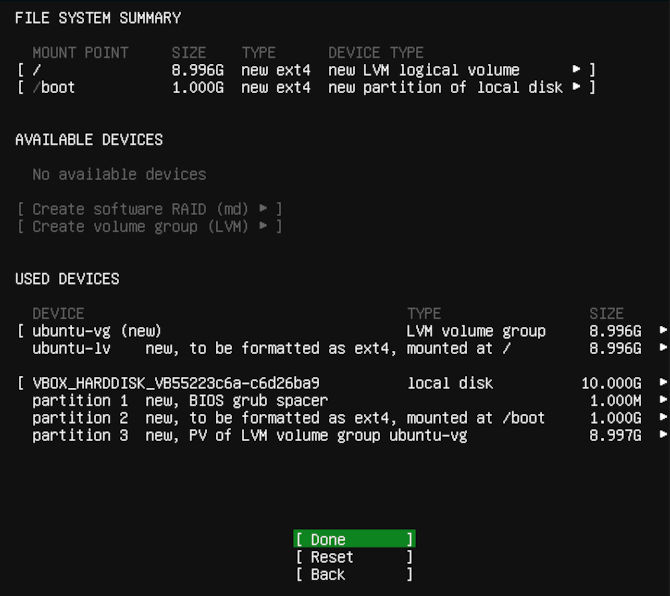
Next, we will use the default partitions that are generated. This should be perfect unless you have particular partition needs.
Then we can choose to install SSH or not. We can ignore this for local builds. Next, you will see a full-compliment of software that can be installed for server options. So many projects can be built with these nice starters. You can use them or not. We are not going to use any today.
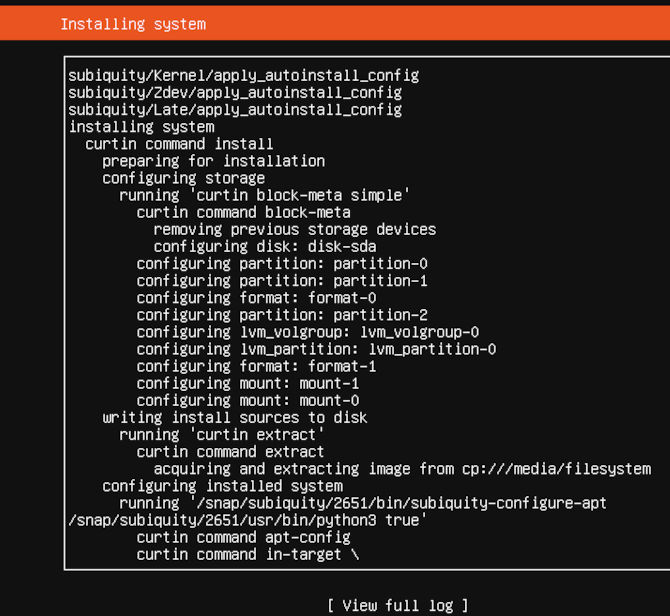
Now your server is going to install the packages you selected and preform an update. This is where you can go eat lunch or read a good book for a bit. It does not take too long. This can vary, depending on your computer. You are welcome to customize this server any way you would like when it’s on your machine locally like this. Once your installation is finished, you can shut it down.
sudo shutdown -h now
Once you have it shut down, you need to navigate to the setting and then to drives. Remove the installation media drive located above your .vdi. Please don’t hesitate to boot it up and build a nice development environment. This is one of the best ways to create a practice server, virtual lab or just test out a distribution you want to check out. This is the first of my virtualization blogs. We will be sure to check out a type I software next time. Until next time, keep it nerdy.