Virtualization on servers can be a hard concept to get into. You sometimes need to feel around in the dark so to speak. Today we will be bring you Proxmox VE (virtual environment) . Proxmox VE, written in Perl with an initial release going back to 2008, ships as a Debian distribution. This makes it effortless to get up and running on a bare metal machine. Today we’ll be pulling out our flashlights and lighting the way to virtualization. Proxmox brings a complete open source hypervisor to your web browser. All thanks to its web based user interface. Proxmox has a few system requirements such as 4 GB of RAM for starters. You can follow along using your own home server, or use Virt-manager. The later option works well to learn the installation process. You can even have the guest machine show up in the browser of the host machine! Meaning you can make a nested virtual machine if you have Virt-manager set up for it.
We’ll start by showing you where to get the distribution. We will then create a bootable USB drive and install it to a physical server. Next we will go over how to configure it during installation to assure you have a working server after. Then we will show you how to get your ISO images uploaded to your Proxmox box. Finally, we will go over how to install an image using the GUI. Now let’s get started with virtualization with Proxmox!
Distribution
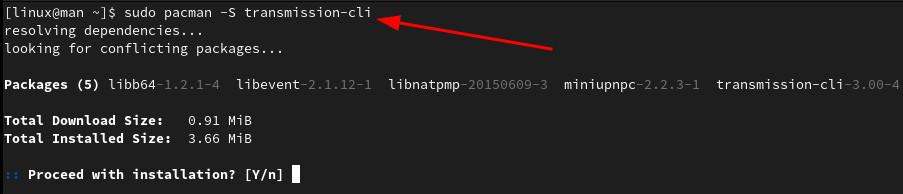
First thing to do is locate Proxmox VE for download. We should go straight to the official site to make sure we get the latest and greatest they have to offer. The download page is here. You will have a choice of all their maintained versions to download as an ISO or use a torrent. “A torrent you say?”, why yes we mean a torrent. Torrents themselves are not bad even if that is how lots of “illegal” media gets distributed. So let’s learn to use a torrent client and get Proxmox VE.
Arch
sudo pacman -S transmission-cli
Debian/Ubuntu
sudo apt install transmission-cli
RHEL/Fedora
sudo dnf install transmission-cli
Now make sure to download the torrent file, so you can get your copy of Proxmox VE. The file should look something like this proxmox-ve_7.2-1.torrent. The version will very much change over time. Make sure you are using the up-to-date version at whatever time you read this.
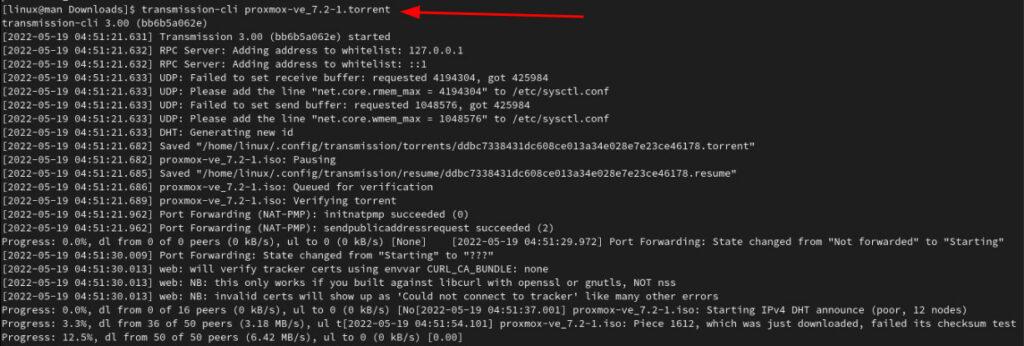
Image ISO
lsblk
sudo dd if=proxmox-ve_7.2-1.iso of=/dev/sdb bs=64K conv=noerror,sync status=progress
Here you can see that we need to use sudo privileges to use this command. Next you will see dd followed by if, which is the location path to our ISO installer that will get imaged on the USB. Next we will see of, which is the location path to write to. So again, make sure this is a drive you don’t mind nuking all the data. Followed by bs, which is the byte size. This you could change to 8M for instance, to run a little faster. Then comes conv and sync, which refers to errors. Following that is status=progress, this will show you a status printout in the terminal. Now to get all the information about what else the dd command is good for, go to the Arch Wiki here. They have great explanations for the dd command.
Installation
Now we can go ahead and insert the USB we created into our home server. You can use any old desktop tower you have sitting around with at least a 4 GB RAM. The more RAM the better. 16 GB or more means you can give a lot more to VMs so they have space to run. Whereas 4 GB is only enough to run Proxmox and one VM. More RAM will help you out. CPU will affect the speed but should not be an issue as long as you’re not running something more than 10 years old. Thus, Proxmox is pretty forgiving. If you are using Virt-manger to run it, you will notice you can actually talk to it via your browser with no extra setup. Make sure you give it all the same considerations on specs.
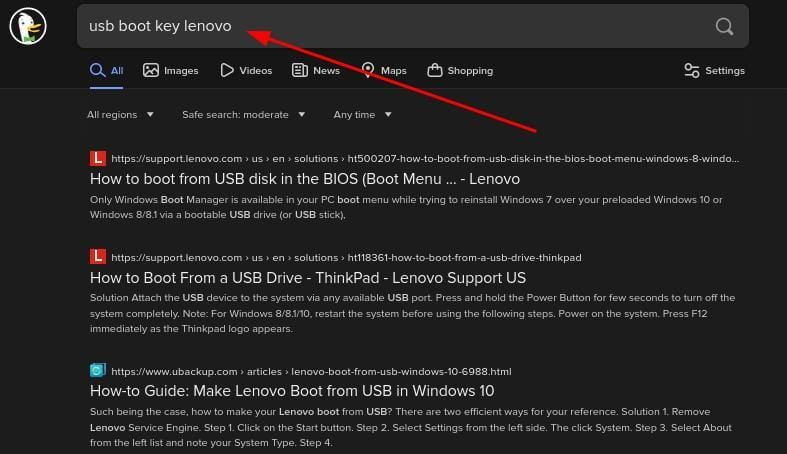
You will want to know how to boot into this key on the machine you are installing this on. On my server, I have it set in the bios to boot USB keys first as this will come in handy for future installations. Make sure to look up your server model and learn how to boot into BIOS. Make this change or set/find the key bind to hit during boot that gives you an option to boot into a USB. Now we select the USB to boot. This should take you to the install Proxmox VE start screen.
Configuration


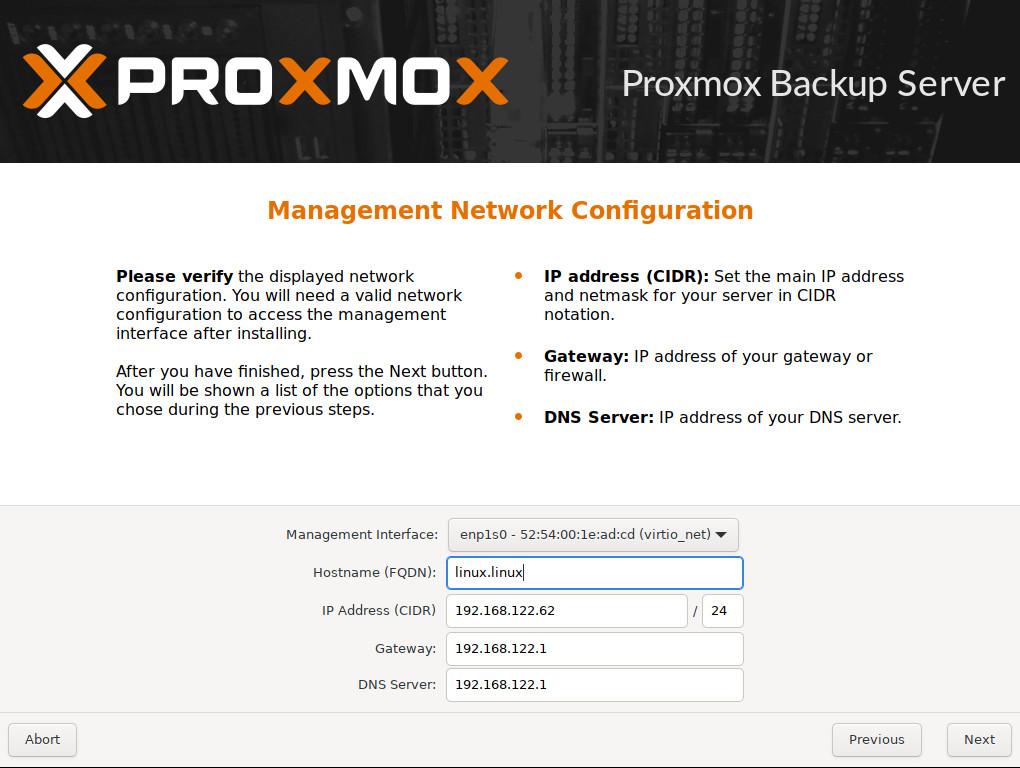
https://192.168.0.0:8006/
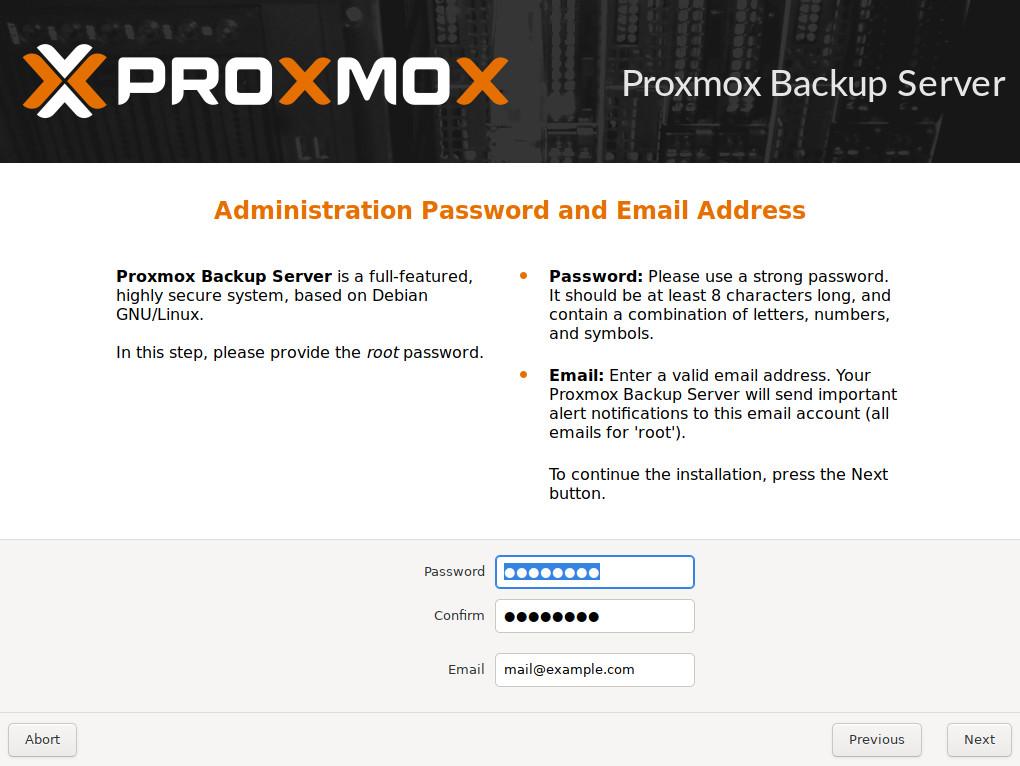
Your ip address will be different so make sure you look for and use your ip address. You will need this to get to the Proxmox panel along with your root password.

Don’t worry if after you log in and see this message. Proxmox is free to use as long as you accept the license agreement. They are trying to encourage some paying customers. If you like the product you should consider subscribing.

ISO Upload
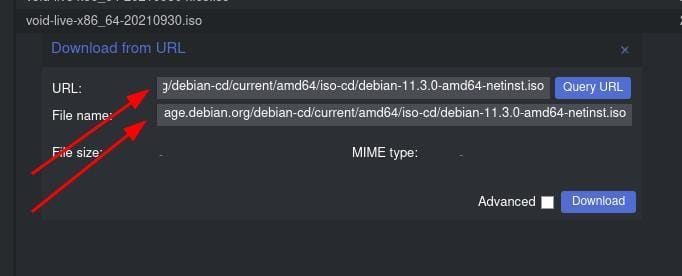
Uploading an ISO is to the Proxmox file system is pretty easy. You don’t have to worry about downloading it to your system. Transferring it to your server, then mounting the media. Why do all that? We are going to grab the download URL for the ISO file. You need the ISO file for this to work. You can hover over the link to see the full URL and make sure it ends with .iso.

We are looking for the net install Debian 11 ISO download, found here. We will need to navigate to our ISO storage in our Proxmox webUI in the browser. Promox‘s WebUI allows us to perform software defined storage and networking. First click on the server we made on the left.
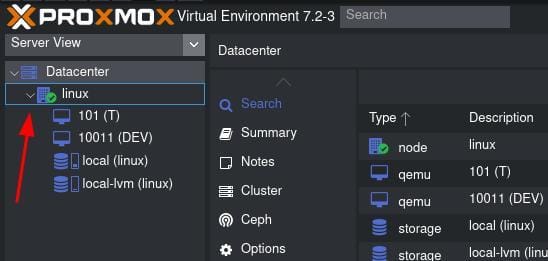
Now you will need to go to the local storage.
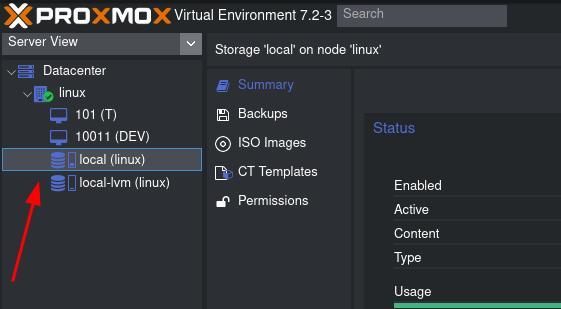
Now we will want to click on ISO images.
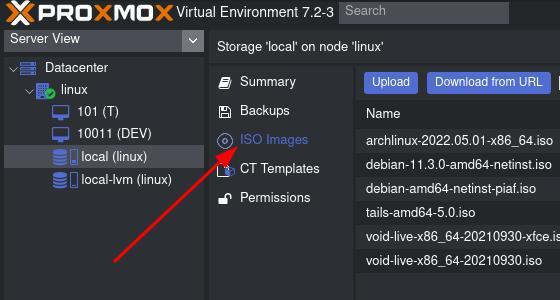
Then we will click on download from URL.
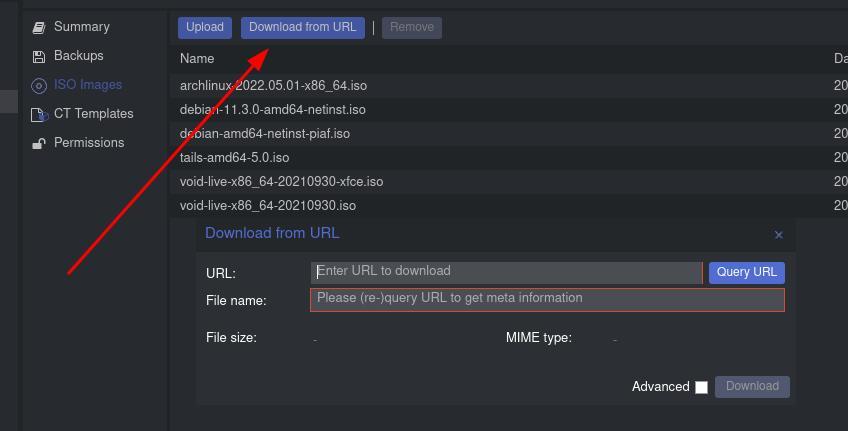
https://cdimage.debian.org/debian-cd/current/amd64/iso-cd/debian-11.3.0-amd64-netinst.iso
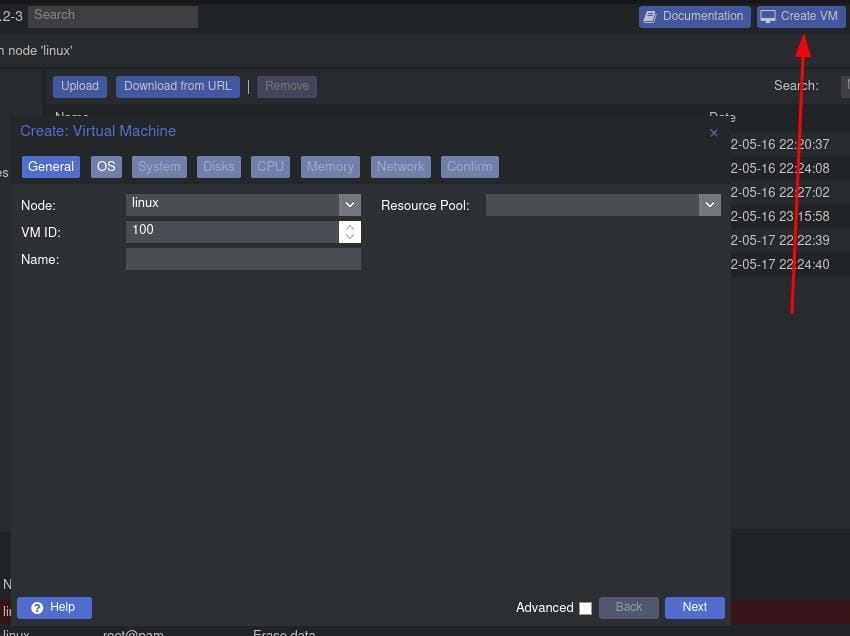
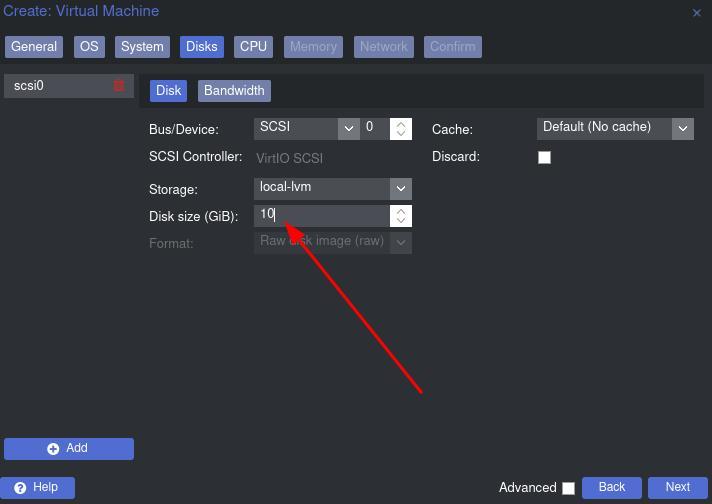
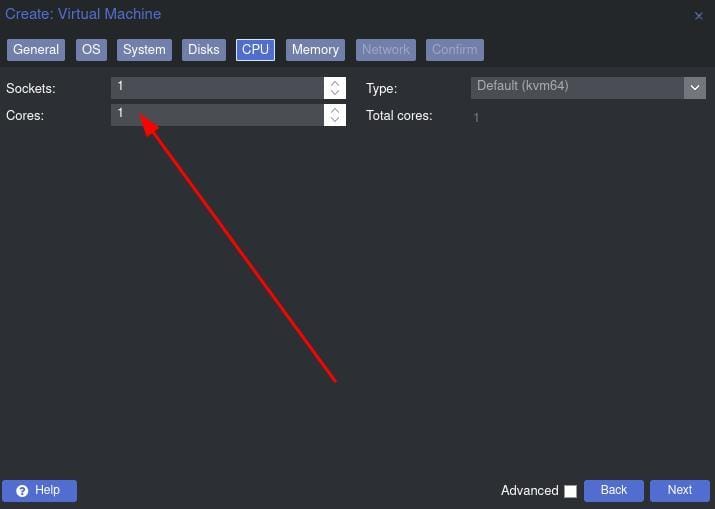
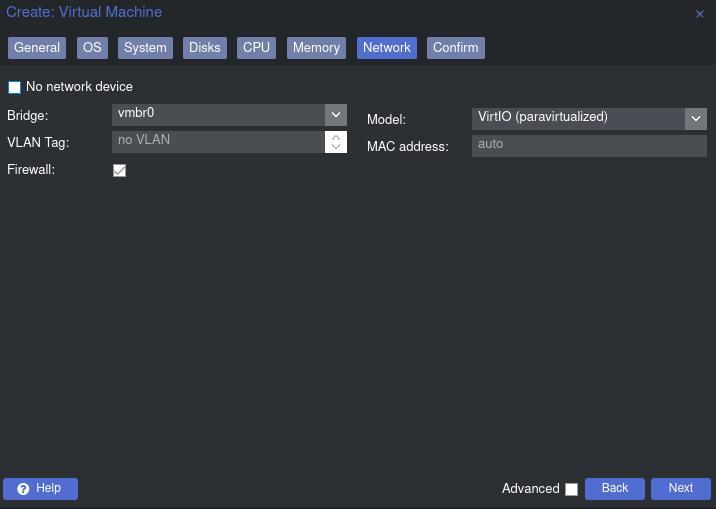
Install VM
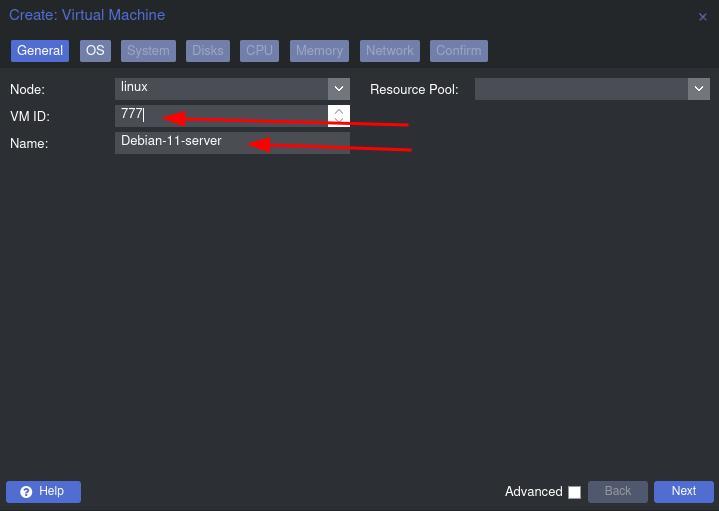
Now we will want to name it what it is, Debian server, or whatever operating system you chose during the installation. This ISO will give you all the popular desktops as options and some server options. Now we will want to add the ISO we want to use. Debian in this case.
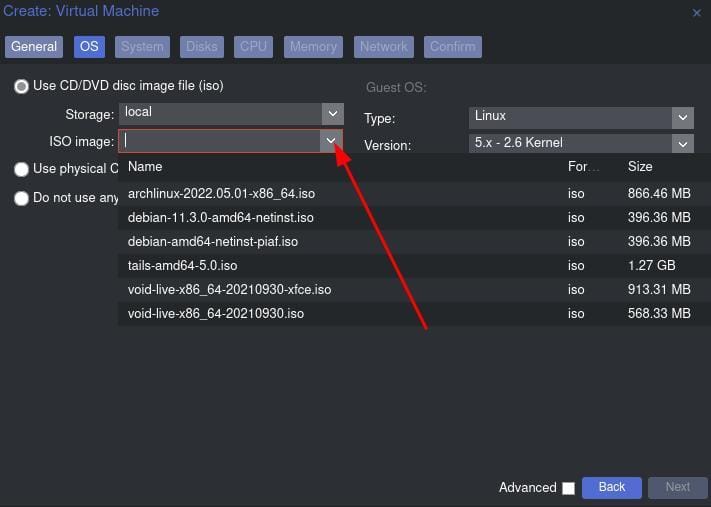
Next under the os tab we will select the ISO we would like to use.
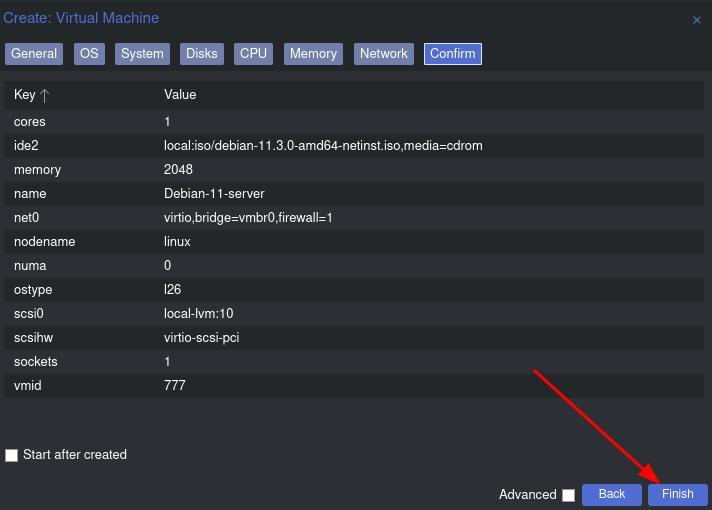
Finally, we have the confirmation tab to check and see if we did everything right.
Bonus
I wanted a darker mode to help me see something other than that white light burning my eyes. I found a script that will help us change to a dark mode profile. Always take precautions when using scripts from the internet. Know that you are using scripts at your own risk. Make sure to always check out the source code. If you have any worries about this script, the source code is available here. So here we go, let’s go from blinding white to dark brilliance. We will run this on the server we installed Proxmox to. Do this as root since that should be the only way to log in at this point if you been following along.
wget https://raw.githubusercontent.com/Weilbyte/PVEDiscordDark/master/PVEDiscordDark.sh && bash PVEDiscordDark.sh install && rm PVEDiscordDark.sh
Once you go back to the browser you refresh Proxmox. You will see a beautiful dark theme that will not hurt your eyes. Leaving you with the ability to work longer with less strained eyes. As you can see Proxmox is a tool that can help you install VM servers on local machines, in the cloud, or in Virt-manager. You have no excuse to not at least learn about it. You could even run it as a Proxmox backup server for a project. Gives you an edge up if you work in tech. You will always need to learn or test something new, like Pi hole, Plex, Nextcloud, the list goes on forever. Why not add Proxmox VE to your toolbox? Thanks for reading.