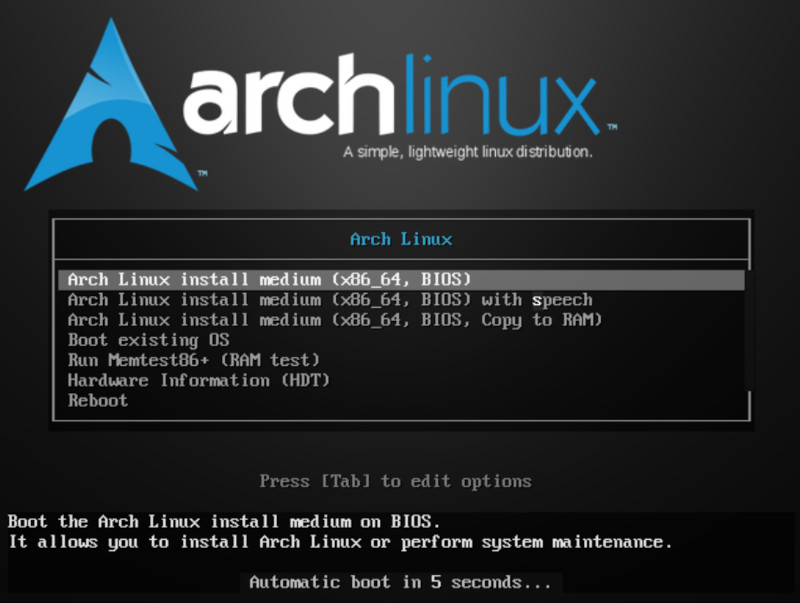
So, you’re new to Linux and you want to install Arch Linux which many say is bad for newbies. Well, to be honest, it is up to you and how manual you would like to get. So if you intend to use just plain Arch, then you are in the right place. We are going to use the simplest configuration we can to get a functioning system. There will be no shinny graphic system to boot into the first time. Just a console, as we will follow up with some highly used and well documented desktop environments and window managers alike. If you want the ability to fully customize your system, then you need to start with a base.
Today we are going to go over the steps in which to build an Arch system for a VM. You can use Virtual Box, Gnome Boxes, or even Virt Manager. You will have a functioning system after this to learn from. We recommend you try it a few times. If you ever get stuck please comment below, and we will try to answer your questions with kindness. Let’s get out our neck beards and make them a little grayer learning how to install Arch, so you too can say, “By the way, I use Arch!”
Install Arch Linux
First thing you are going to want to do once you get your Arch ISO booted into console is check your connectivity. If you are using a VM you should have connectivity as log as your host machine does. If you are using this guide for a desktop or laptop you should make sure to connect via Ethernet. It is possible to use Wi-Fi, but it can become a point of failure. So let’s focus on a VM configuration.
ping –c 4 google.com
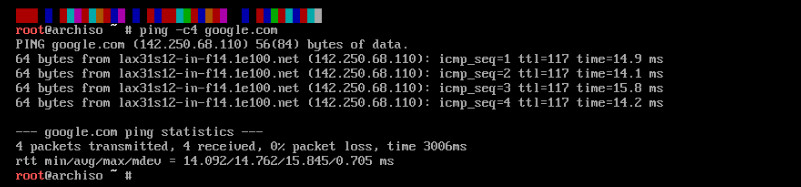
You can see all you need to do is ping a website/domain to see if you get
responses. We are sending a count of four packages to google.com. If all is
well, your output should read 4 packets transmitted, 4 received.
The next thing to consider is setting the time and date. We can do that like
so.
timedatectl set-ntp true
Partitioning
We will need to partition the disk to hold our new system. To see what our
disk is called we will use lsblk.
lsblk

You should see the installation media and a disk named sda or
vda. This can be different on some VM systems or even physical
hardware. It depends on how they are assigned and how many disks you may be
working with. Particularly on a non-virtual device. But this command will
identify them either way.
cfdisk /dev/vda
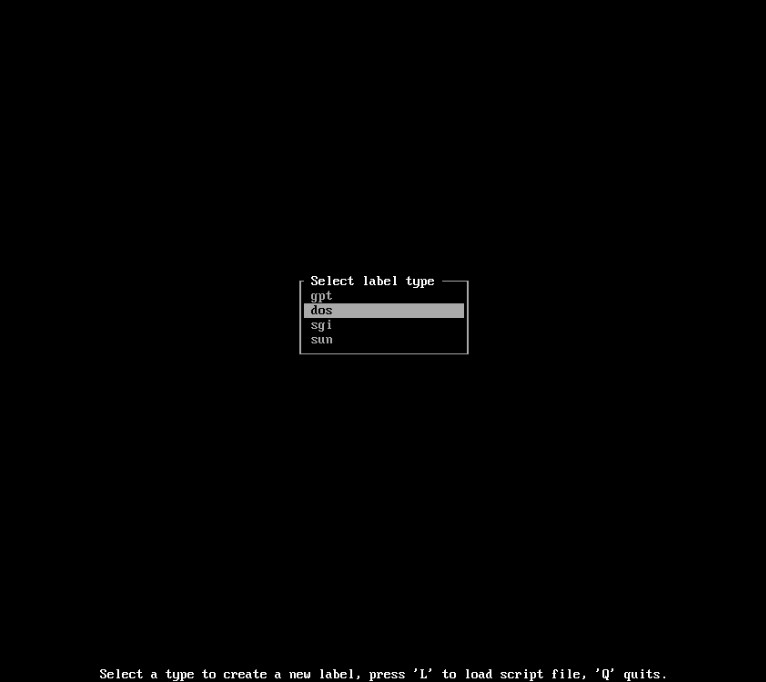
You will notice that you will need to choose GPT or
DOS here. We will go with DOS as it is an easy way
to go unless you have terabytes of space on this VM. This is something to
consider on a physical machine. The first partition can be made by selecting
New.
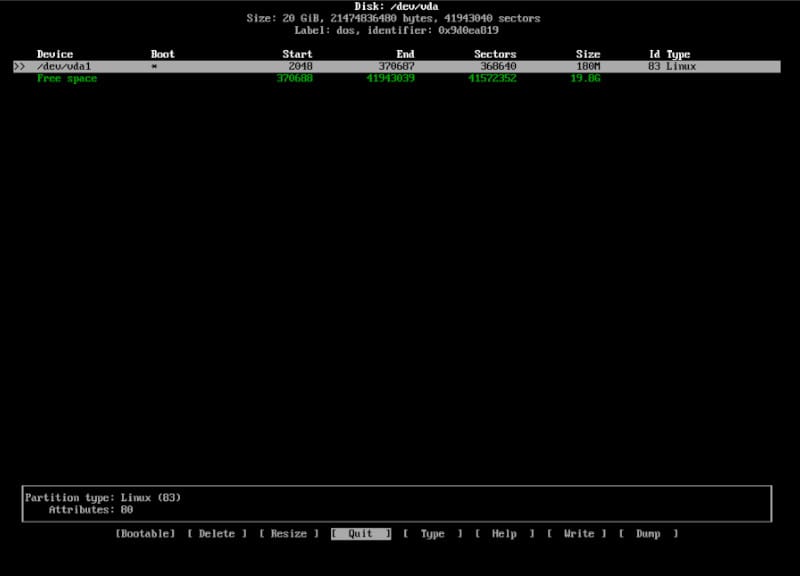
We will make it 180 MiB. Trust me, you don’t need 512 MiB. Next we will want to make it boot-able by pressing b, producing an * next to the partition name.
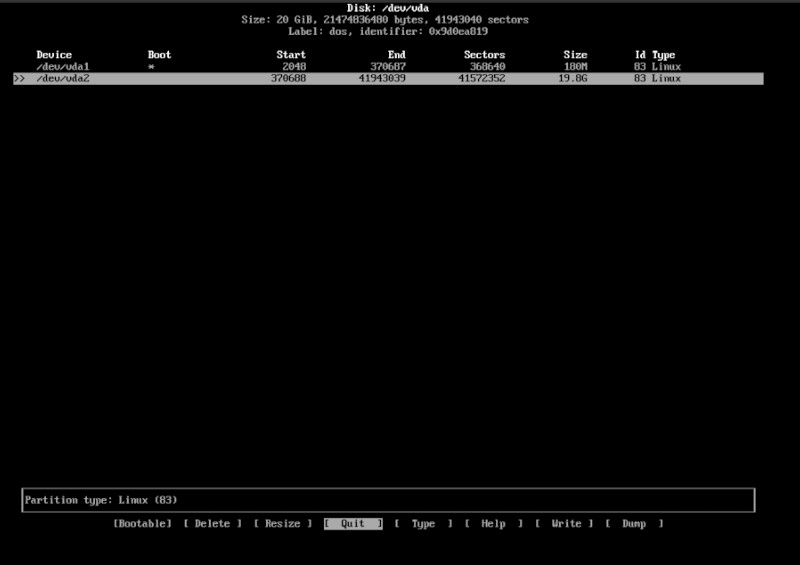
Next we will make the rest of the space on the disk into our root partition.
This is where you would make a home partition if you need one on a regular
machine. You should never need it in a VM. Now we select
write to partition the disk and exit cfdisk. We
can now move onto formatting the partitions.
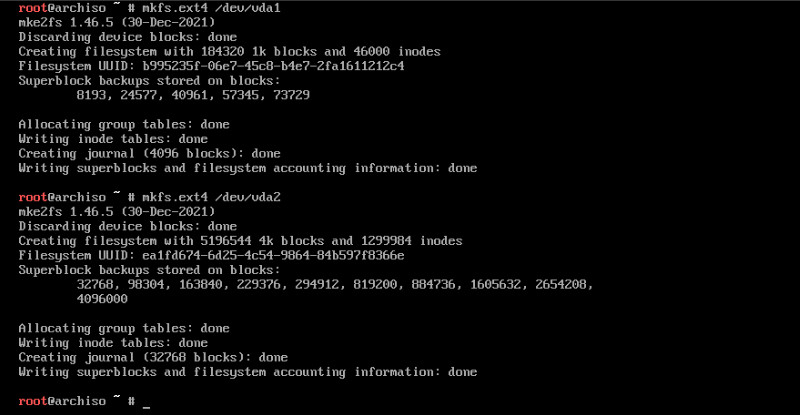
mkfs.ext4 /dev/vda1
We will repeat this on the next partition and any others we wish to use on our system.
mkfs.ext4 /dev/vda2
Go ahead and mount our new partitions.
mount /dev/vda2 /mnt
Now we will want to make a mount location for our boot partition.
mkdir /mnt/boot
Finally, mount the boot partition to the mount point we just created.
mount /dev/vda1 /mnt/boot
System Installation
Once you make it past the partitioning, you have made it past the hard part. Now we will install our system with one command string.
pacstrap /mnt base base-devel linux linux-firmware vim
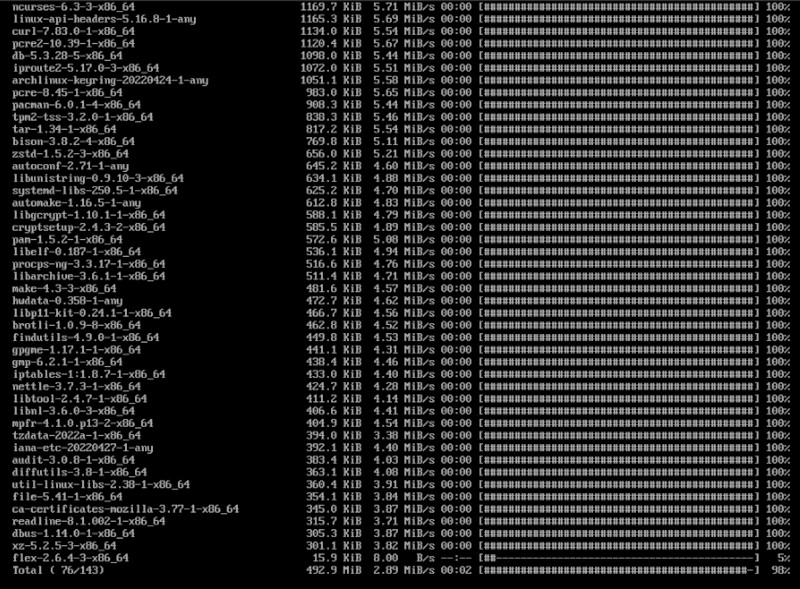
We are using the pacstrap command here to populate our system.
This will install our base and base-devel to start
us off with some tools we need. Then we added linux and
linux-firmware to ensure we have a kernel. You can also add the
LTS kernel. Just add linux-lts instead. We also include
vim since we will need to edit some files. Any non-graphic text
editor will do. This can take some time. Once your packages are all done
downloading. We will create fstab.
genfstab -U /mnt

We used the genfstab command to start us off. Then we use the
–U option to ensure we use a UUID instead of a disk name. This is
so we have a unique identifier. This will ensure that when you install this on
a real machine that you will not have any issues due to disk failure.
Critical Configurations
We will now chroot into our new system to get it prepared for our
first boot.
arch-chroot /mnt /bin/bash
Notice your command prompt will change. This just means you managed to
chroot in no problem. Now we need to add two essential packages.
pacman –S networkmanager grub
We will need a Network Manager to make sure we can connect to the network when
we boot for the first time. We will also install grub to help us
boot into Arch in the first place. Now we will enable Network Manager.

Make sure you write it the way you see it here as this could mess with
connectivity if we create the symlink incorrectly. Now we will configure
grub. First let’s install it to our disk.
grub-install /dev/vda
Make sure not to install it to just one partition. Install
grub to the whole disk. Now we will make our configuration.
grub-mkconfig –o /boot/grub/grub.cfg
Set up a root password to make sure we can log in for the first time.
passwd
Locales
Now we are going to want to set up our system locales. We will want to be able to use our language of choice to make it easy to use Arch.
vim /etc/locale.gen

Type a to edit. Here you will need to scroll down to find
your language. Un-comment the line that you need. We will be un-commenting
en_US.UTF-8 UTF-8 and en_US ISO-8859-1 around line
177. You can then hit Esc and type
:wq to write and quit the file. Now we need to generate the
locales.
locale-gen
Next we can set the locale and generate our new file like this.
localectl set-locale LANG=en_US.UTF-8
The next thing we will want to do is set up our hostname.
vim /etc/hostname
Type a to edit. You can name your host or computer anything you like. So have fun with it! Now we can hit Esc and then type :wq to write and quit the file. Now we can set our time zone. We can use tab for command completion to help us know what options there are.
ln –sf /usr/share/zoneinfo/
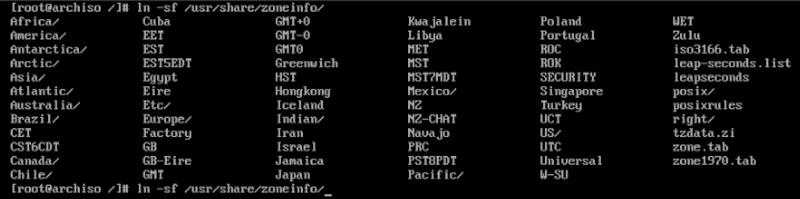
We know what our country and city zone names are, so we will go ahead and use
the whole command. Just remember you can tab at any / to see the
options in a directory.
ln –sf /usr/share/zoneinfo/America/Las_Angeles
First Boot
Now we are going to boot into our system for the first time. To prepare for
this we will exit our chroot environment.
exit
Now we are free to un-mount our partitions, so we can carry on to our first boot.
umount –R /mnt
Next thing to do is boot into our new system. So take a deep breath, and then we will go for it.
reboot
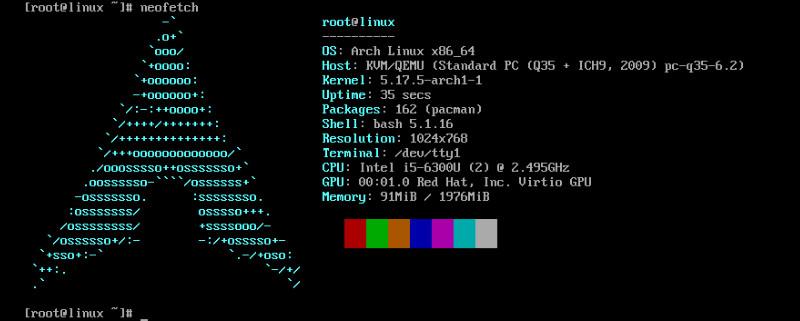
That is it! You now are part of the Arch overlords. You should now be greeted with a console log in prompt. You can decide what kind of Arch spin you would like to run. You can ask yourself if it is for a particular task, light weight or just a really cool beautiful spin of software and art across your screen. Thanks for reading.